
Hello!
As the weather here in Oregon has taken a step back from its crazy-early leap into Spring and slipped into dreariness, I spent my day off indoors and engrossed in some jewelry making. Simple stuff, but fun. Which is how all things should be, really.

Although the skies today are grey, the past few days were full of clear blue and light breezes. As Spring looms, I can start hanging up my thicker scarves and start pulling out my more delicate necklaces. I think there’s something so classically beautiful about a really dainty necklace. I find the way a thin chain drapes to be very flattering and they can be used to jazz up a plain T-shirt or dress-down a fancier blouse or dress.
So, I thought I’d share one of the easiest-but-most-impressive-seeming crafts I enjoy. Get ready for a picture-heavy post! It’s hard not to snap every step, even though most are very intuitive.

When it comes to accessories, I tend to find more satisfaction in creating exactly what I want, rather than hunting down a piece which feels close enough. Little handmade trinkets always make great gifts, too, particularly since you have so many ways to customize the final product for its intended. Bonus: once you buy the chain and beads, you’ll have supplies left over for whenever you find your next jolt of inspiration. While I love craft stores, I typically lose some momentum if I have to make a trip to gather what I need (and no, that is not an excuse for my hoarding tendencies 😛 ).
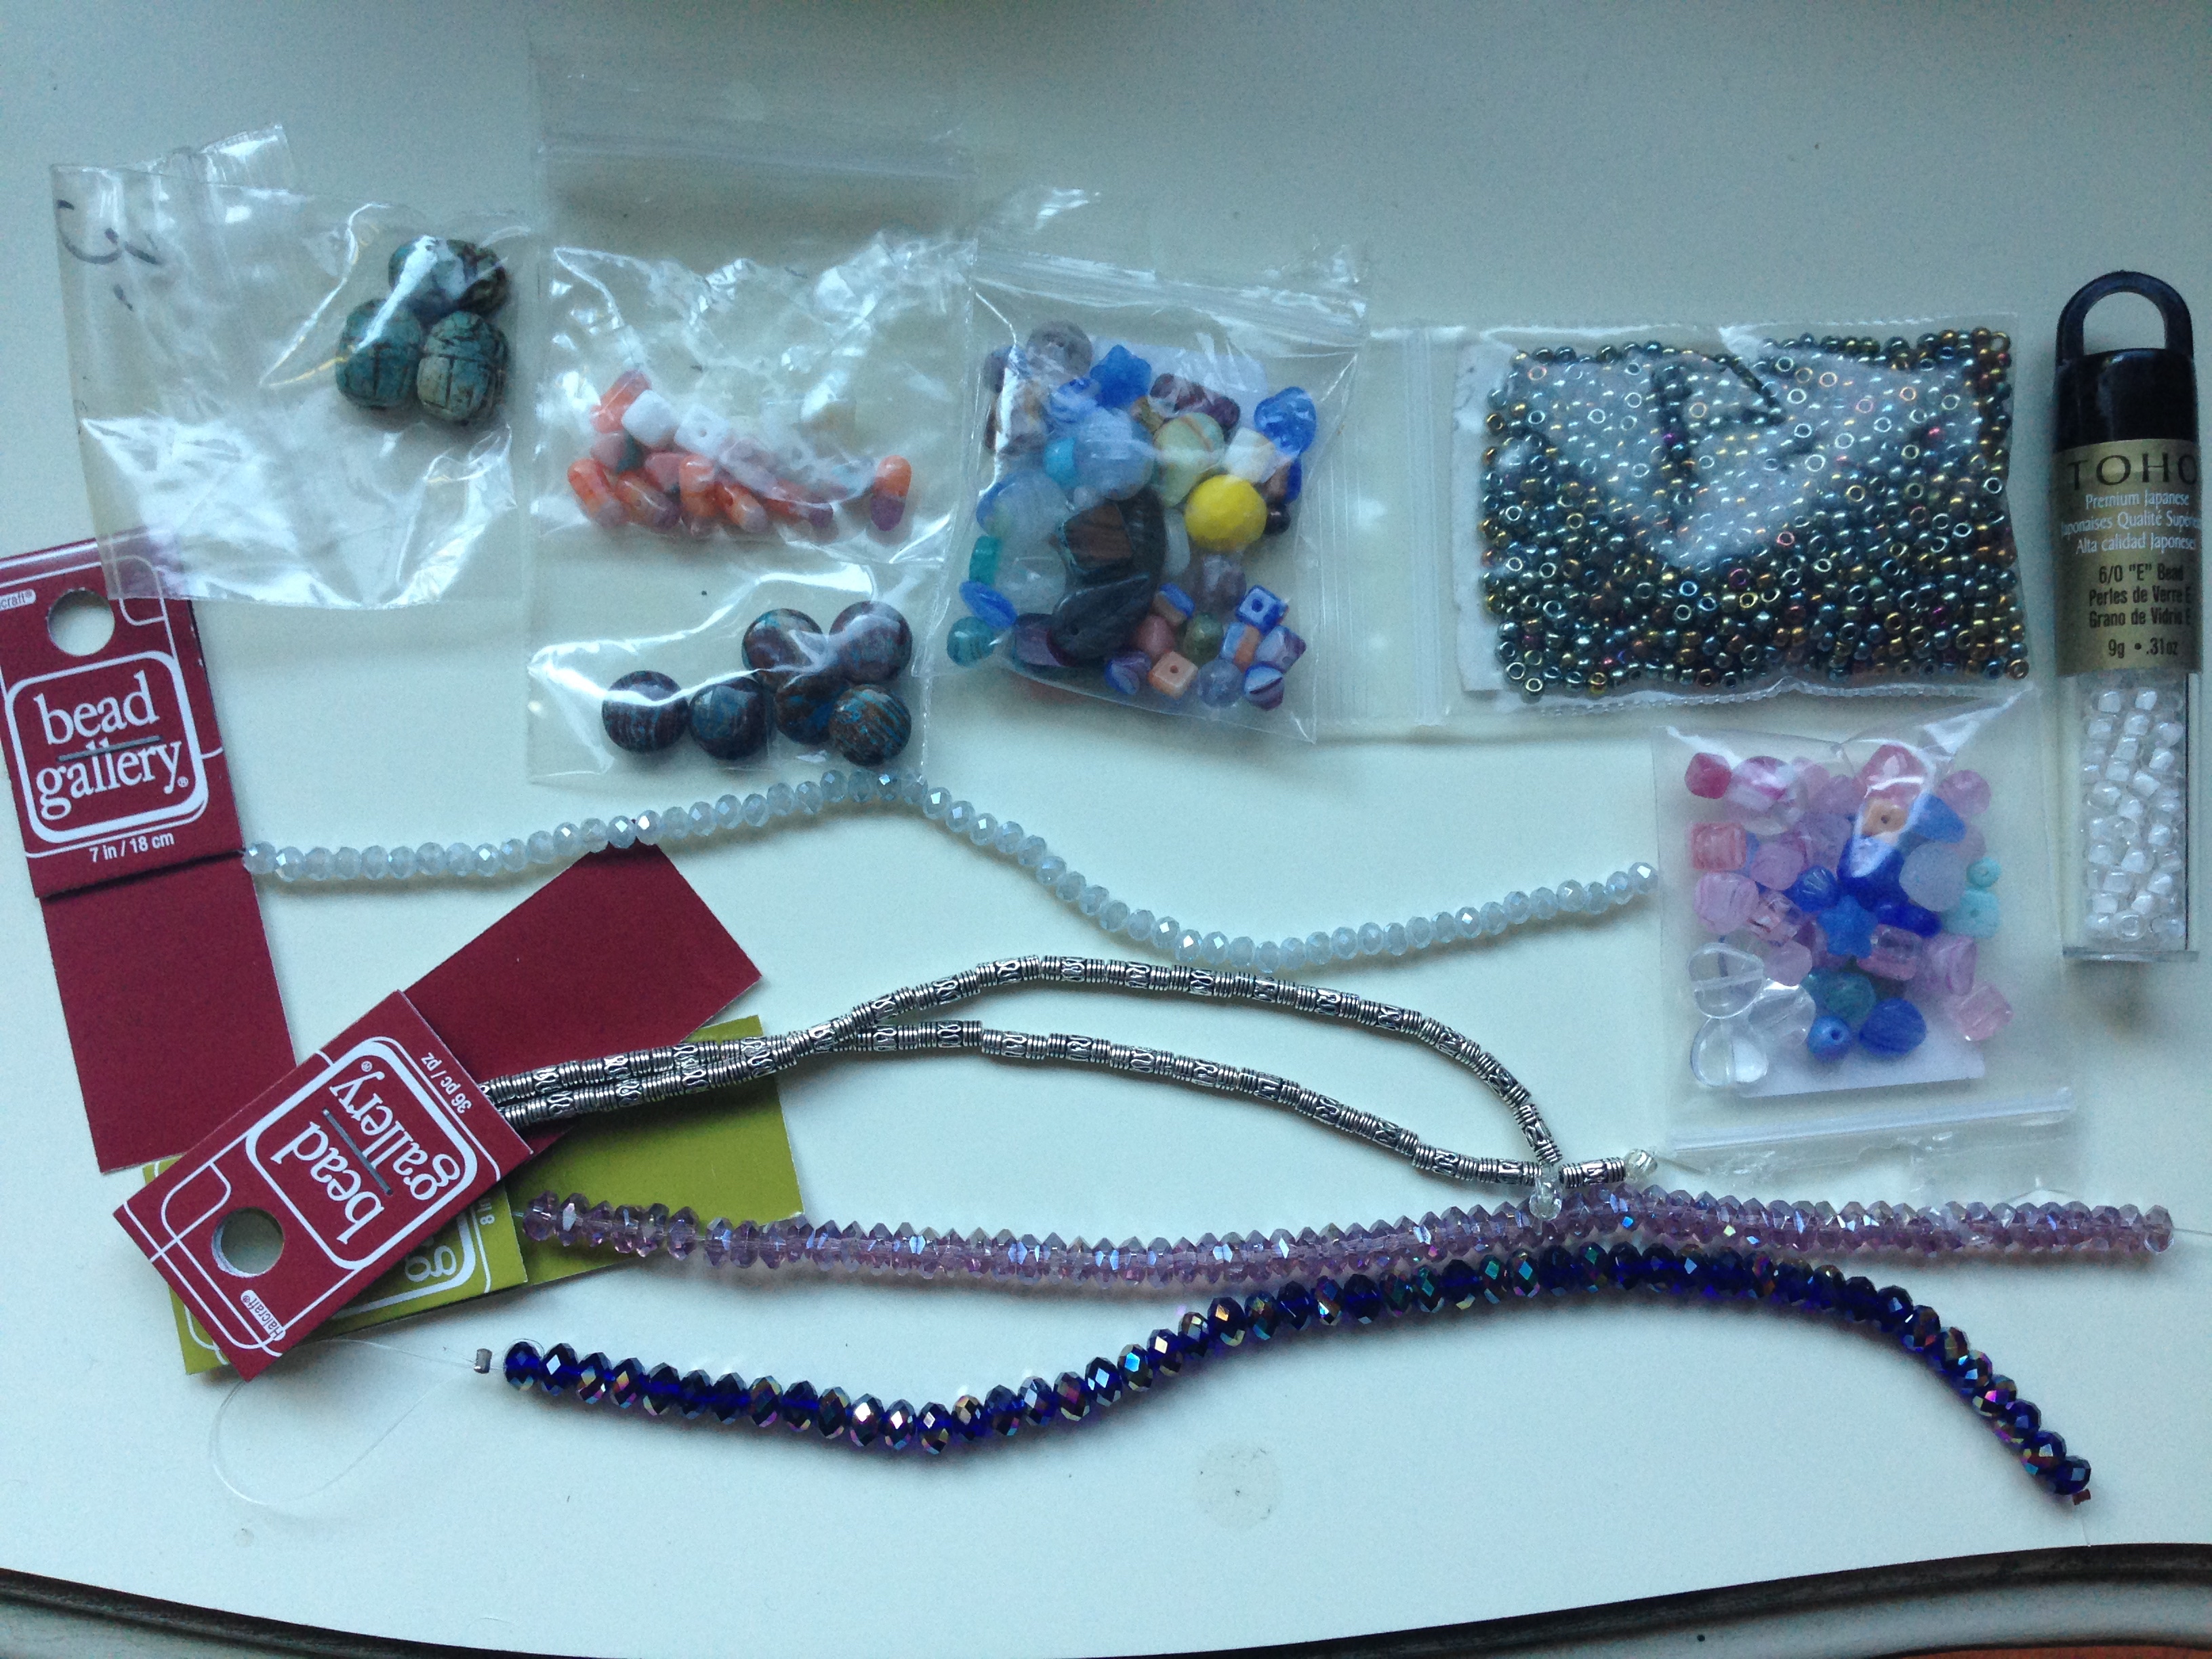
Variety of bead sizes, styles, and colors
General supplies needed:
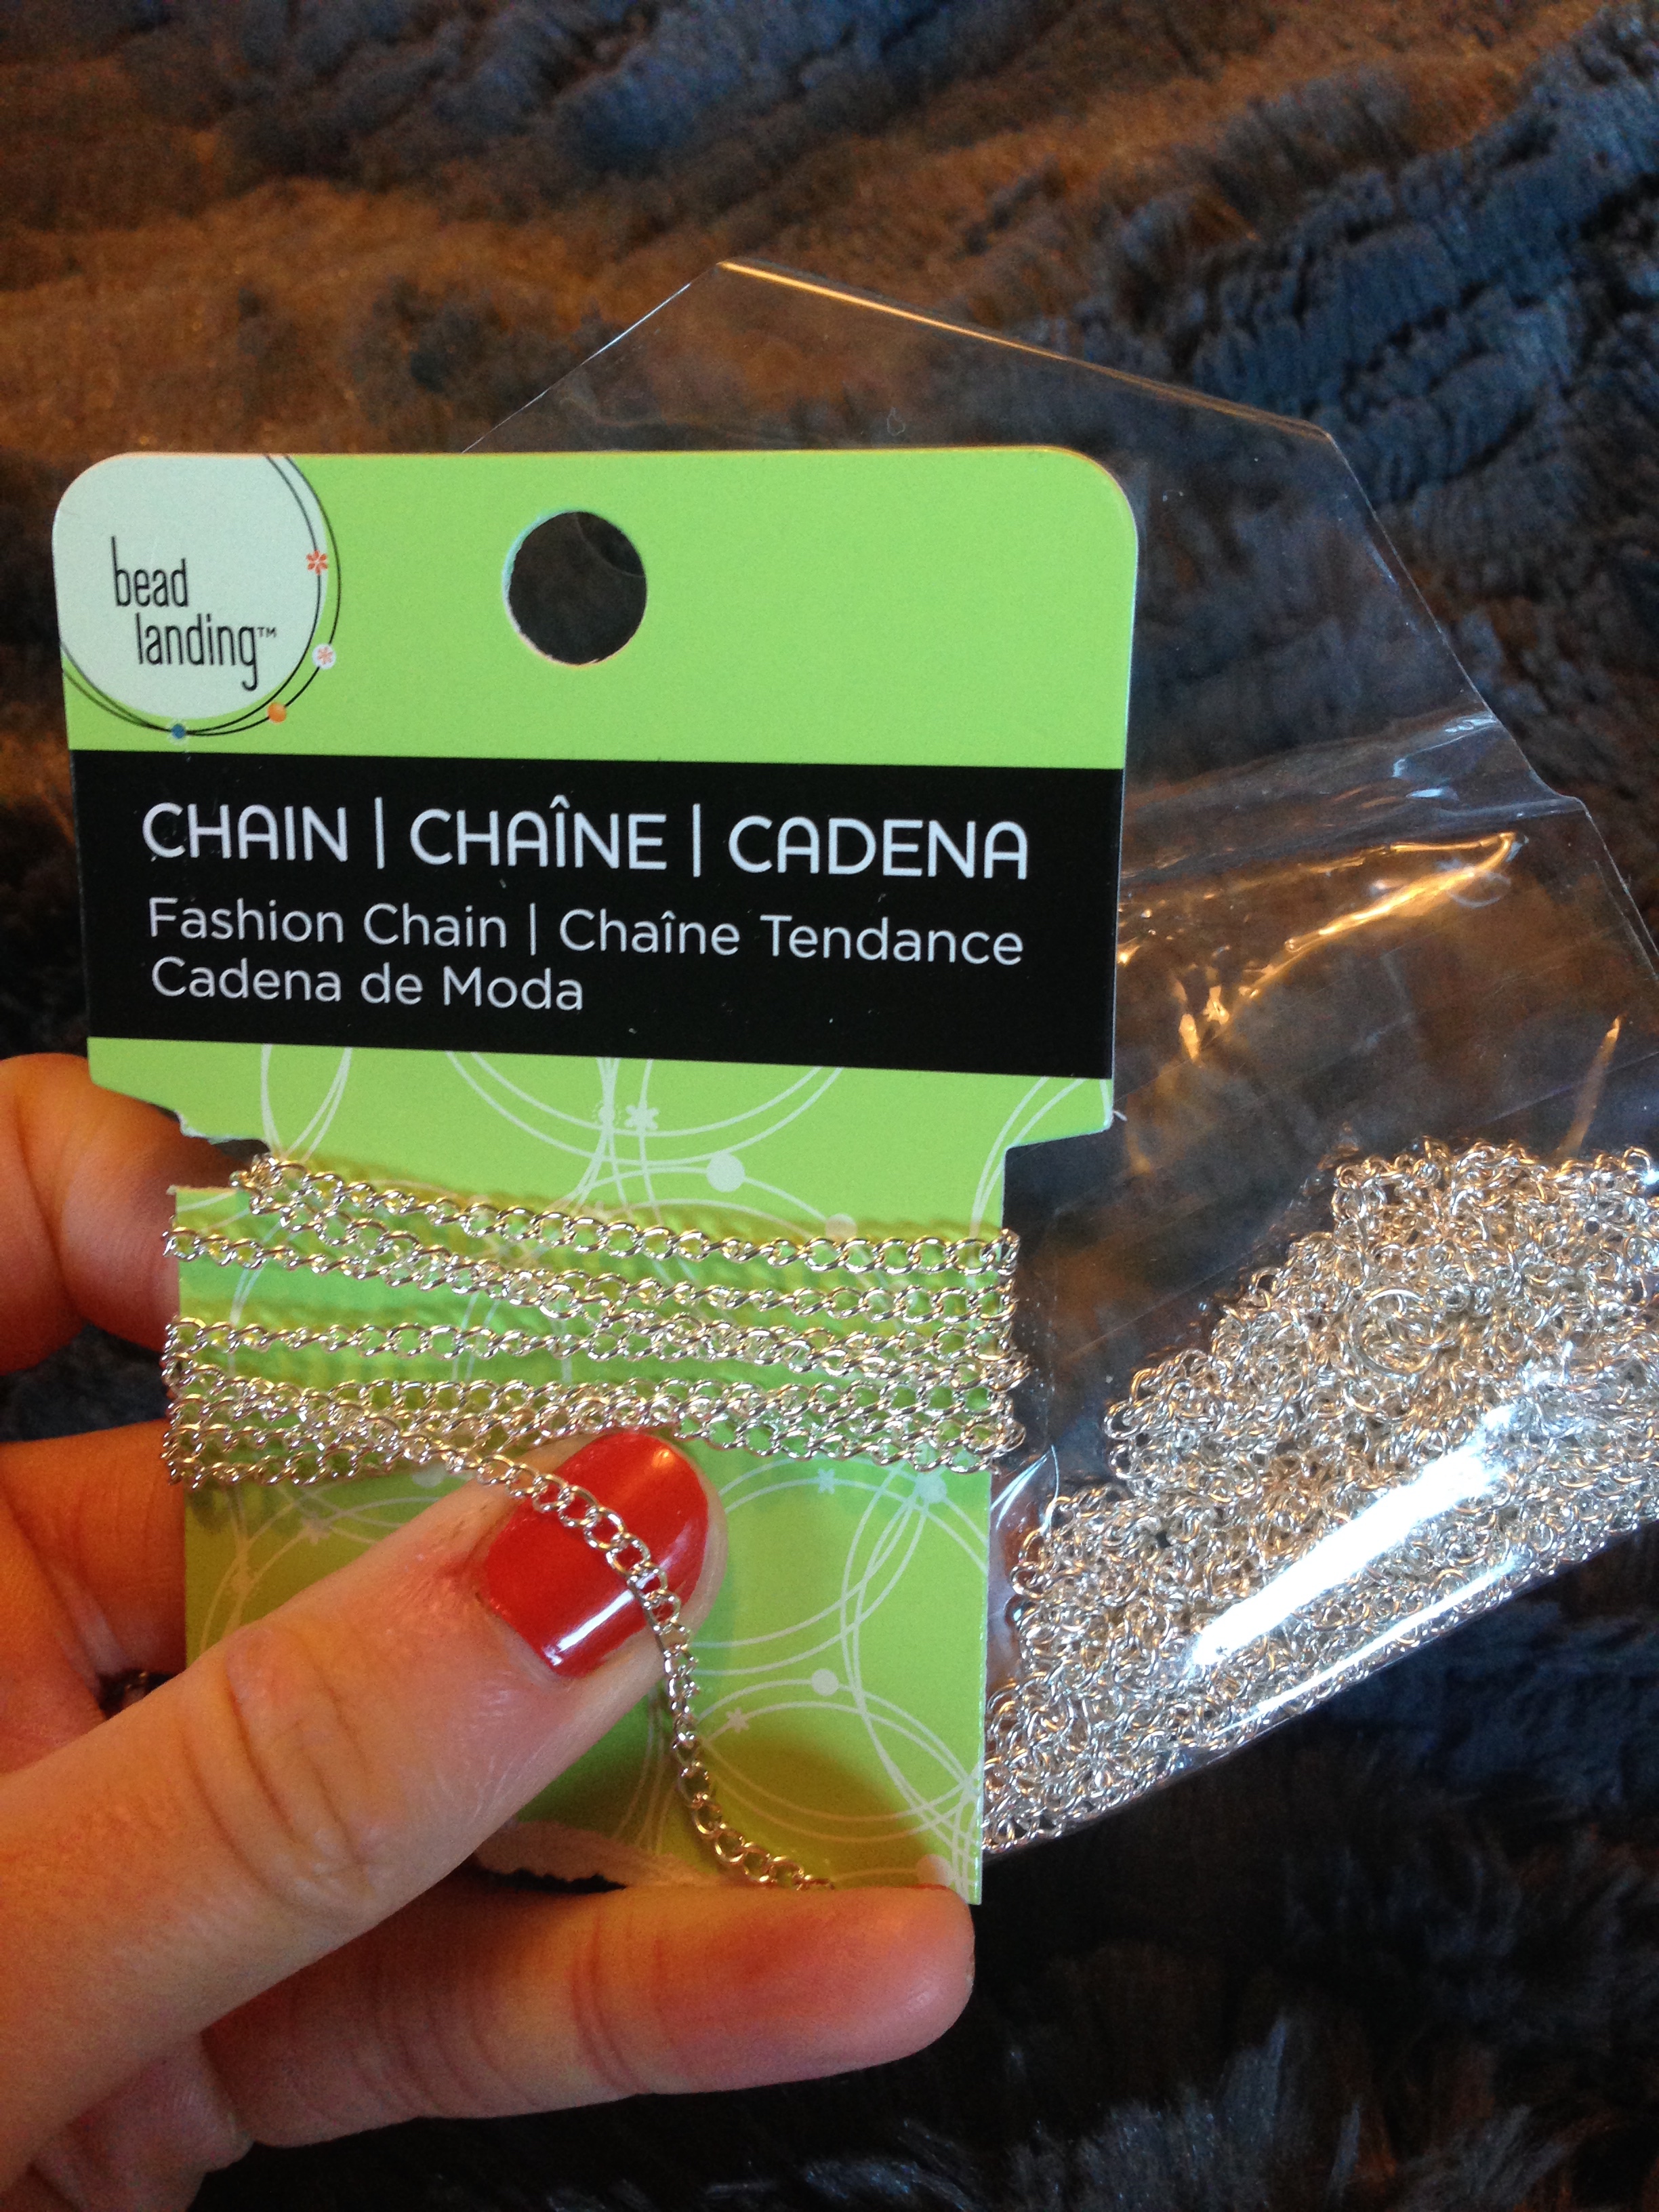
Chain: whichever color, thickness, and style you like. I typically use silver, in a variety of thicknesses. Below is a medium-to-thin chain.
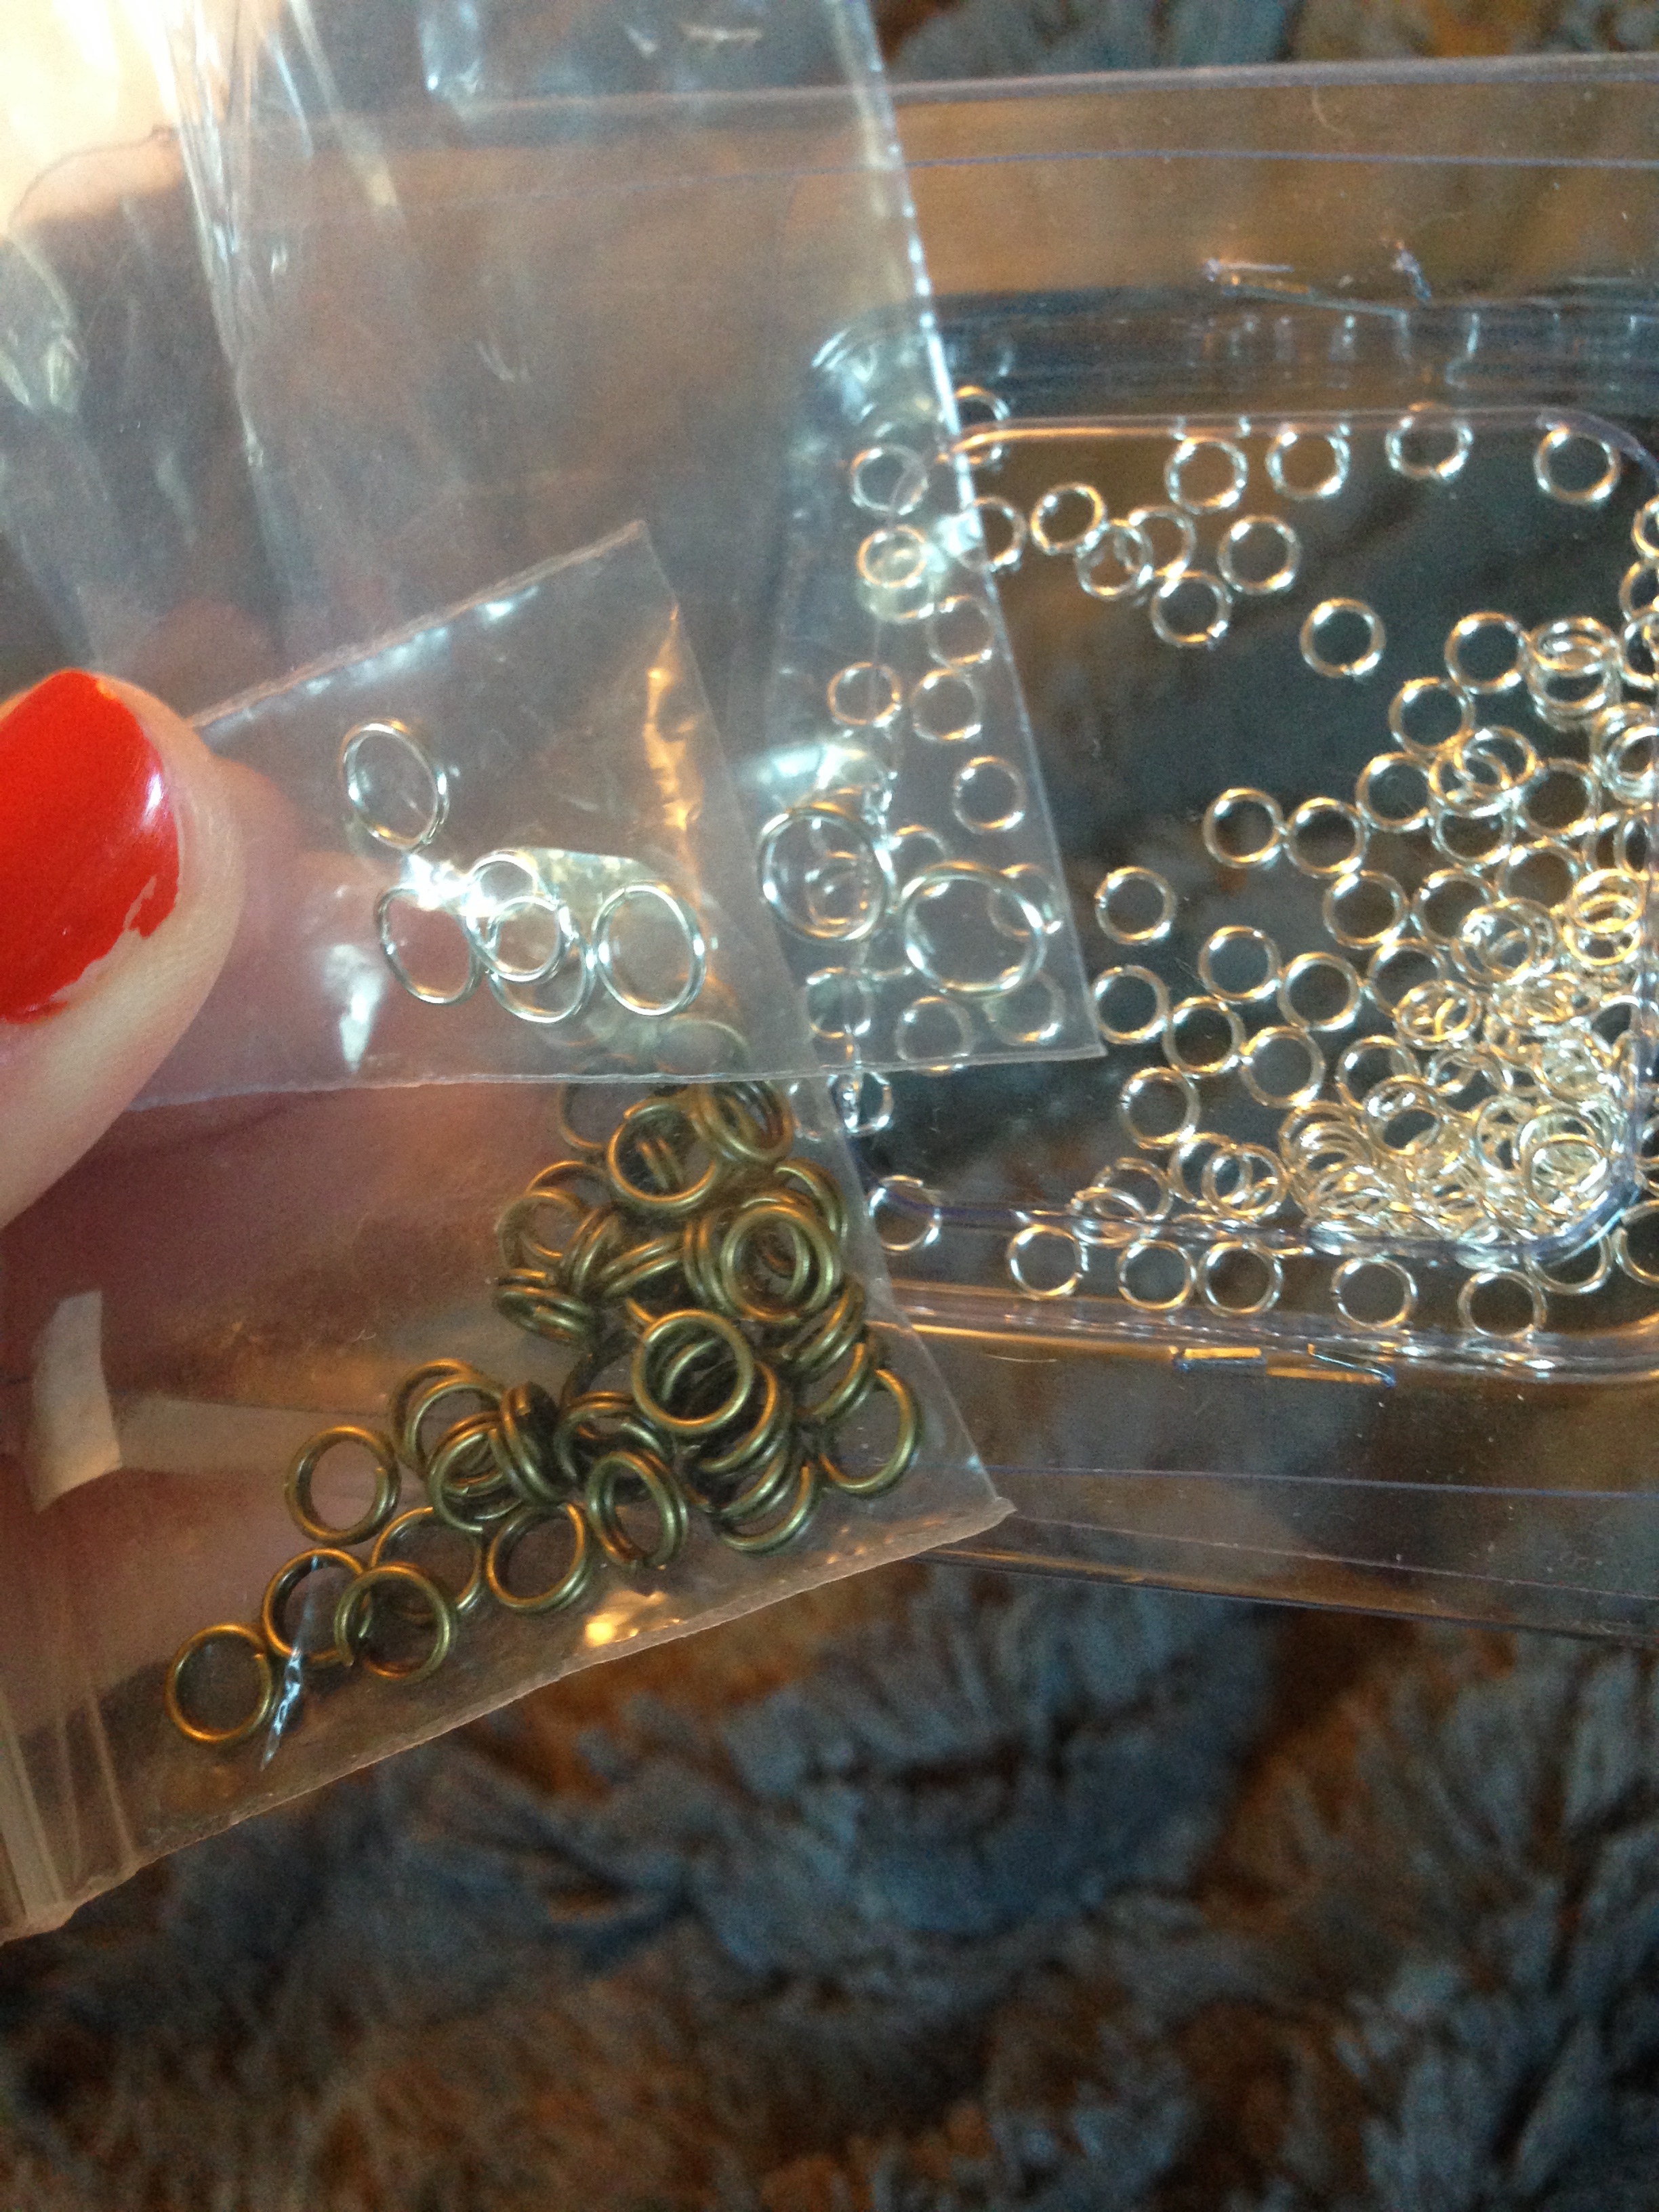
Jump rings: I have several colors and sizes of these to match my needs
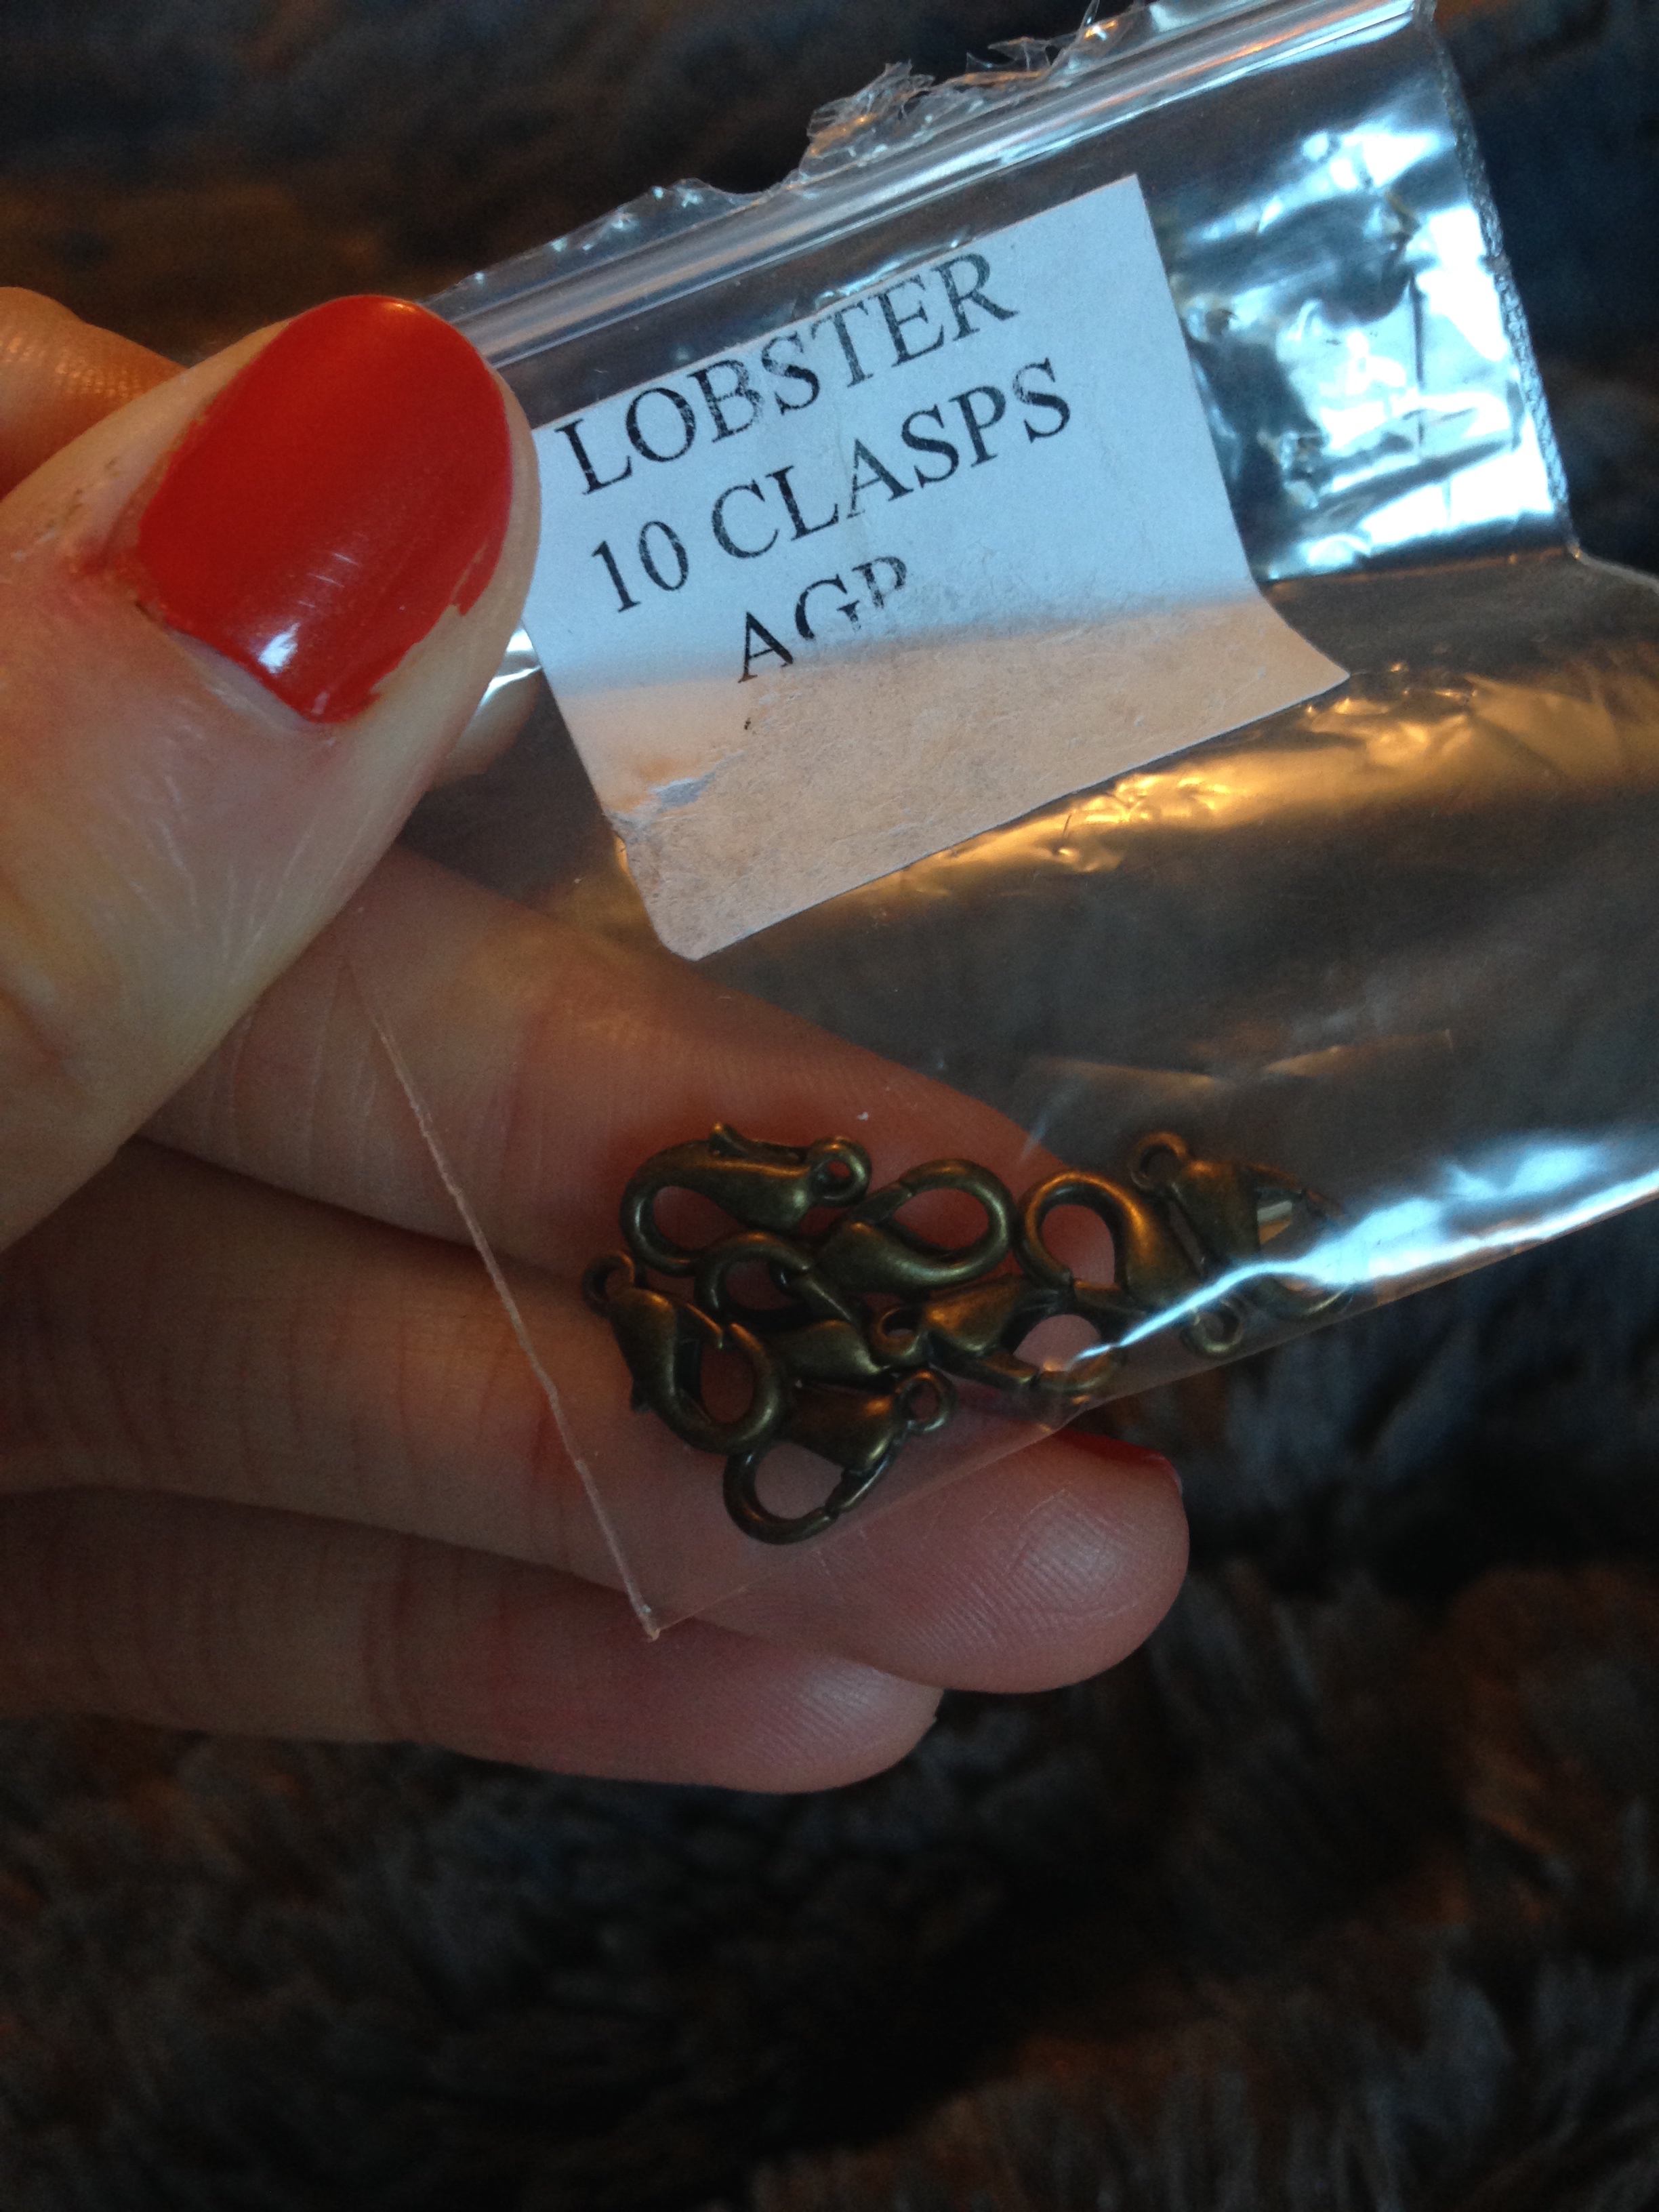
Clasps: I like lobster clasps, because they’re easier for me to open, but any kind will work. Also try to get these in colors which match your other metals, but don’t stress to much about it; for most of us, this detail will be covered by our hair.
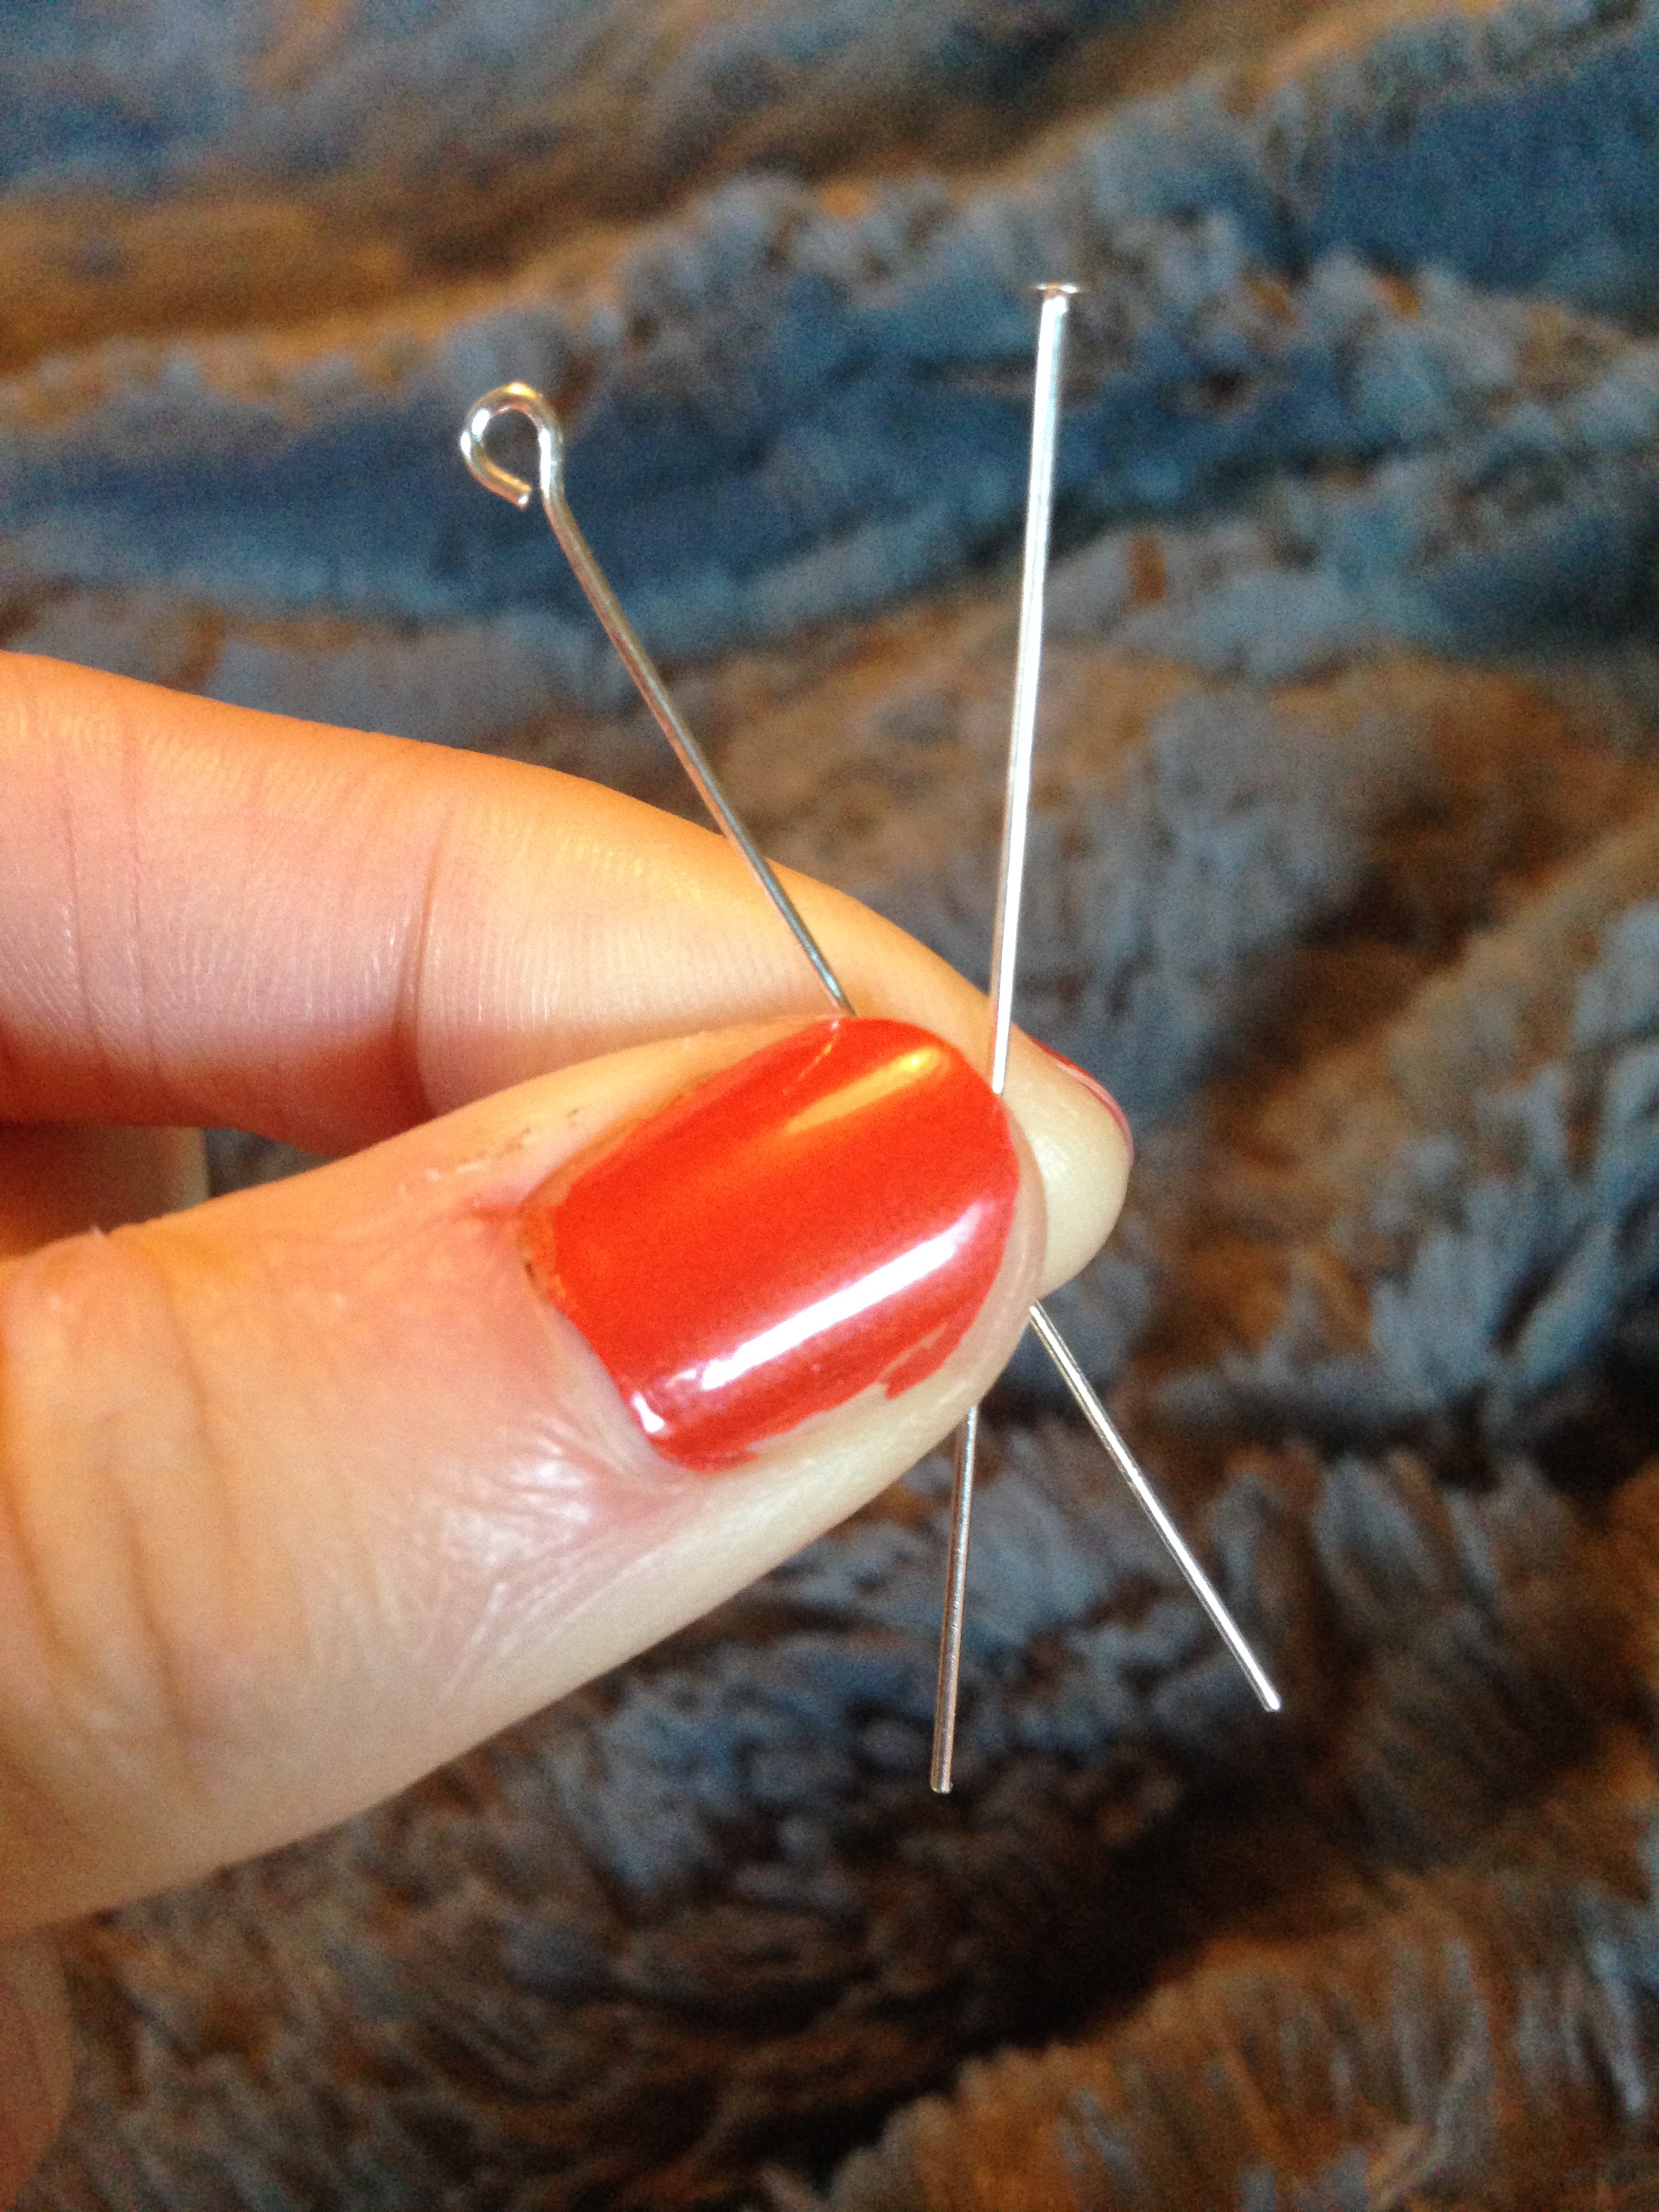
Head & Eye Pins: The head pin has a flat top almost like a tiny little nail head; the eye pin has a loop like a shepherd’s crook. These are a game-changer when it comes to adding beads to the piece. They feature in most of my jewelry and are super bendy so can change the look of a necklace quickly.

Pin style: straight vs. bent into a curve
Tools: Jewelry pliers are ideal, but I just use regular tool-kit pliers, originally intended for electrical work. This isn’t because they work better – far from it – they are just what I have lying around.
I have a soft felt square that I work over which helps everything stay contained and not roll onto the floor. A dish towel would work just fine, too.
Now for the fun part!
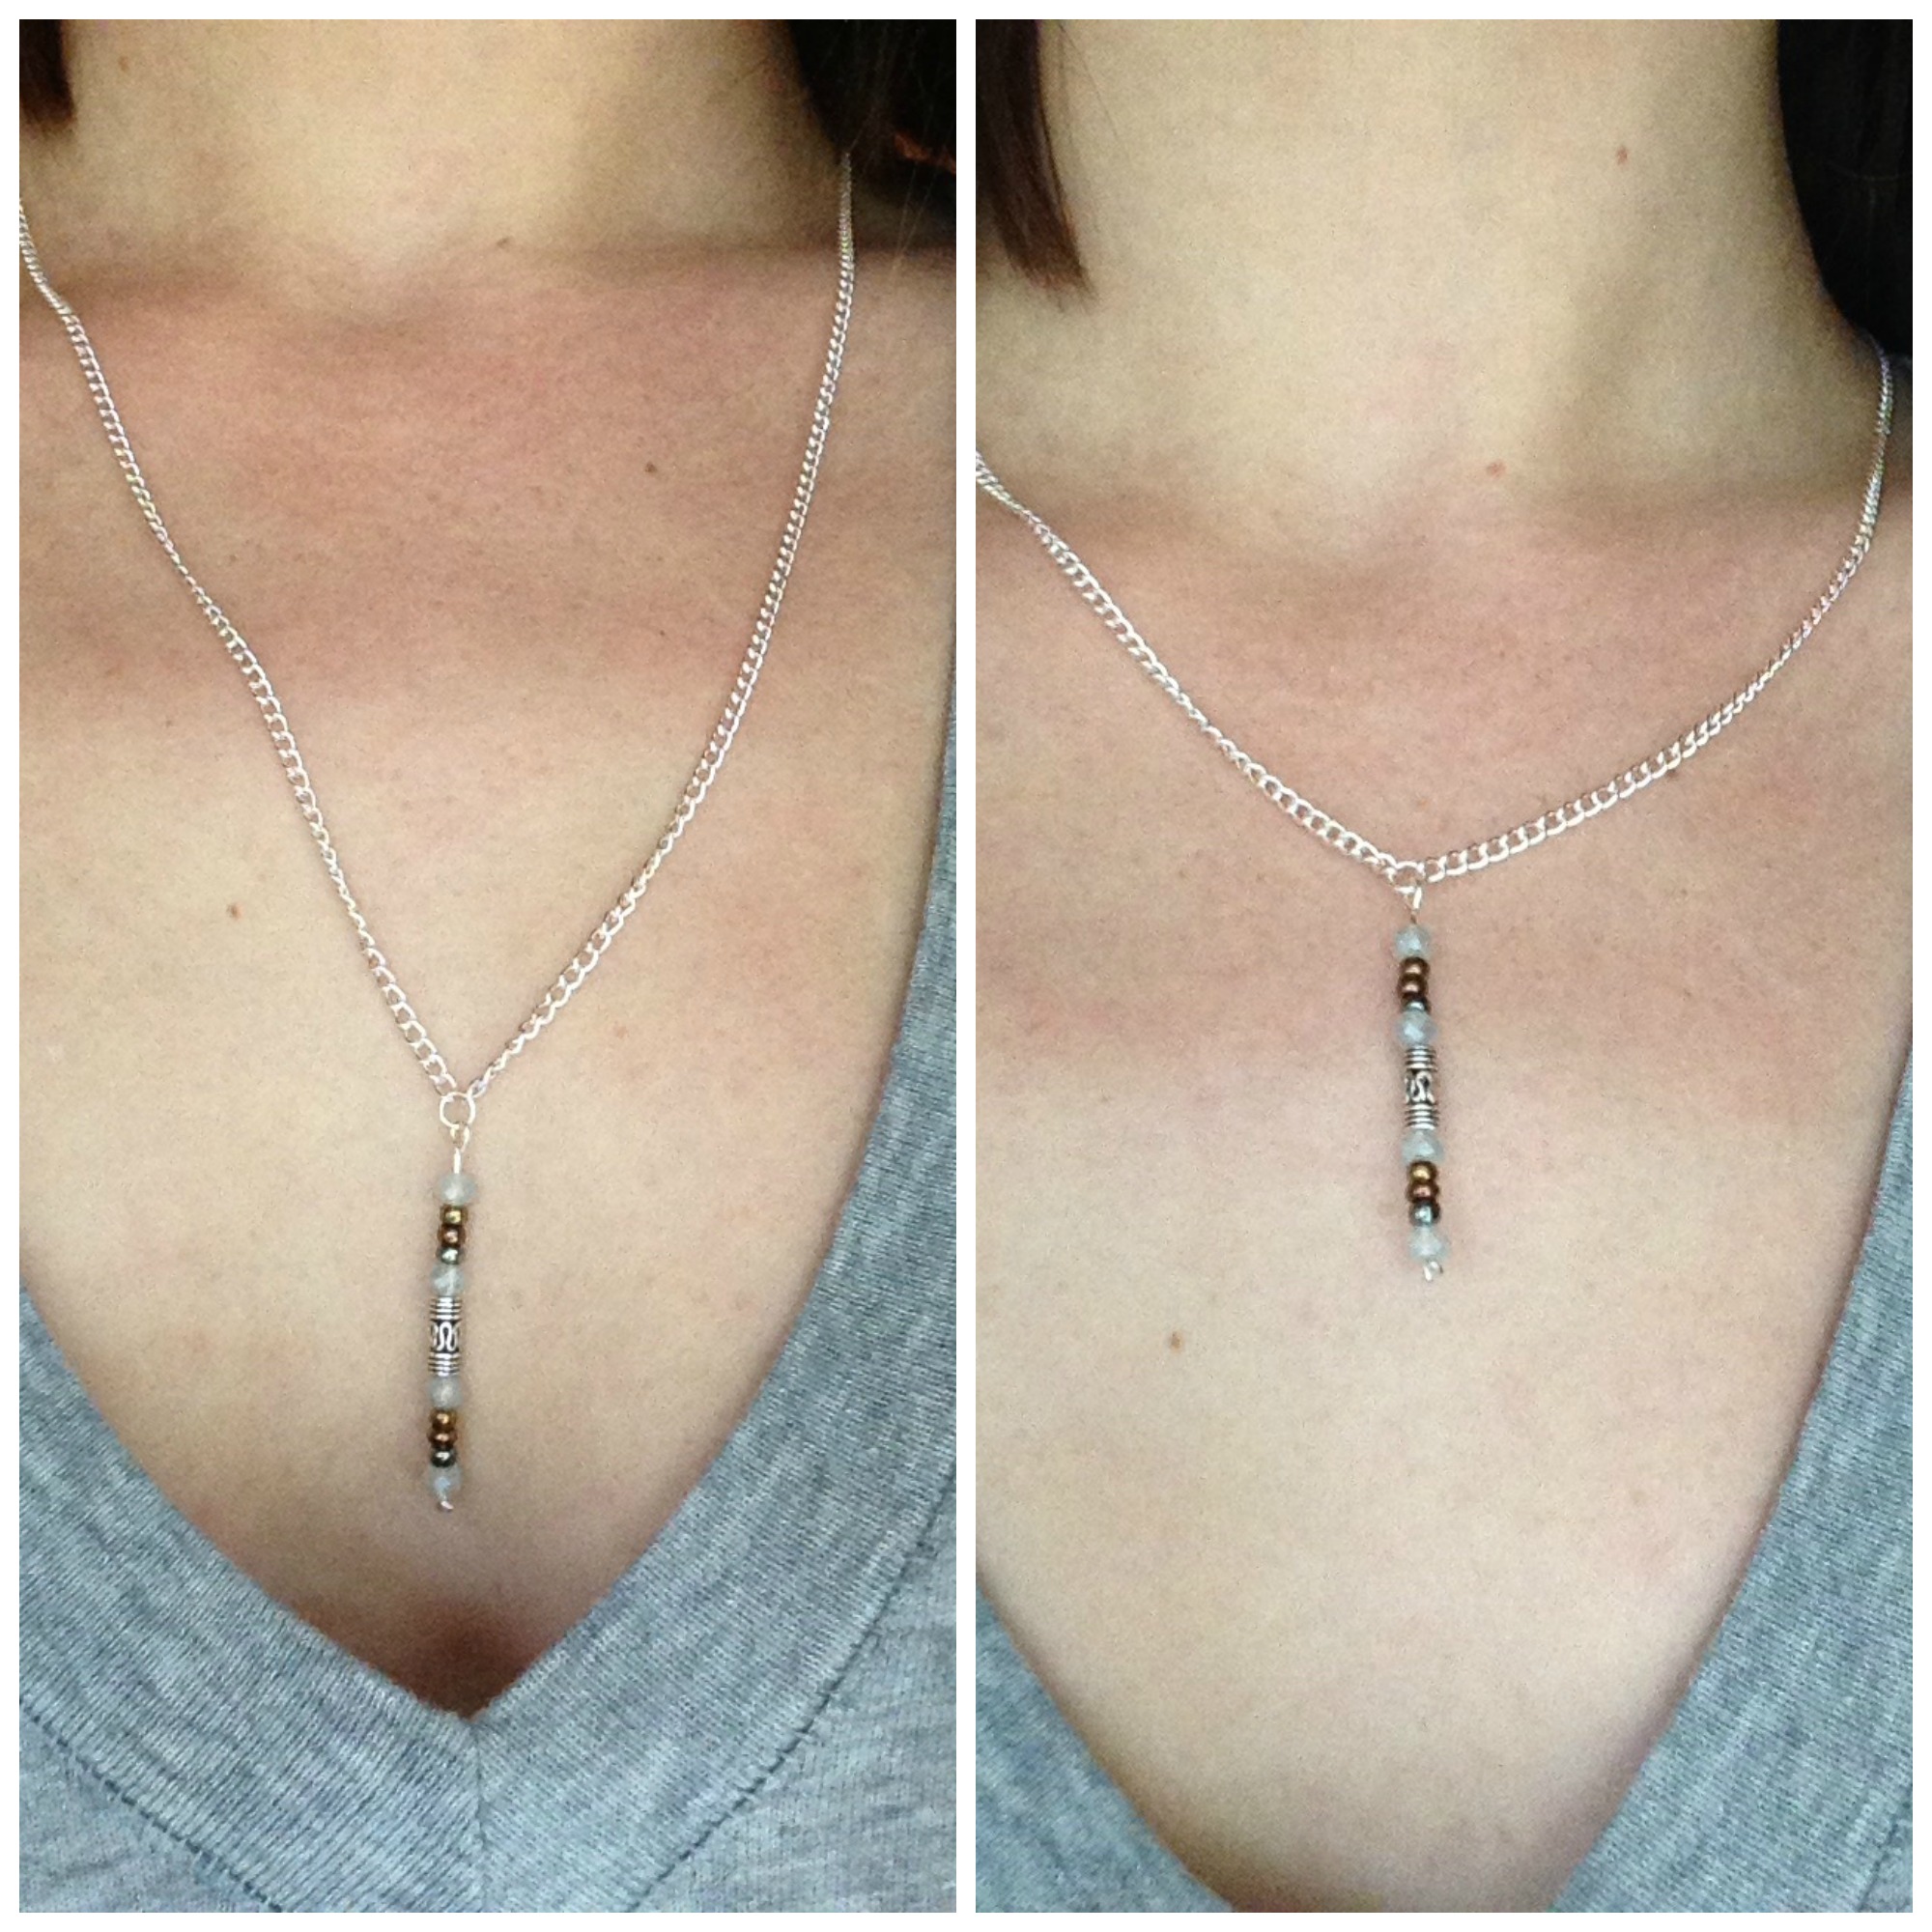
I decided to make a necklace with vertical beads, since I have several with beads strung horizontally along the chain.
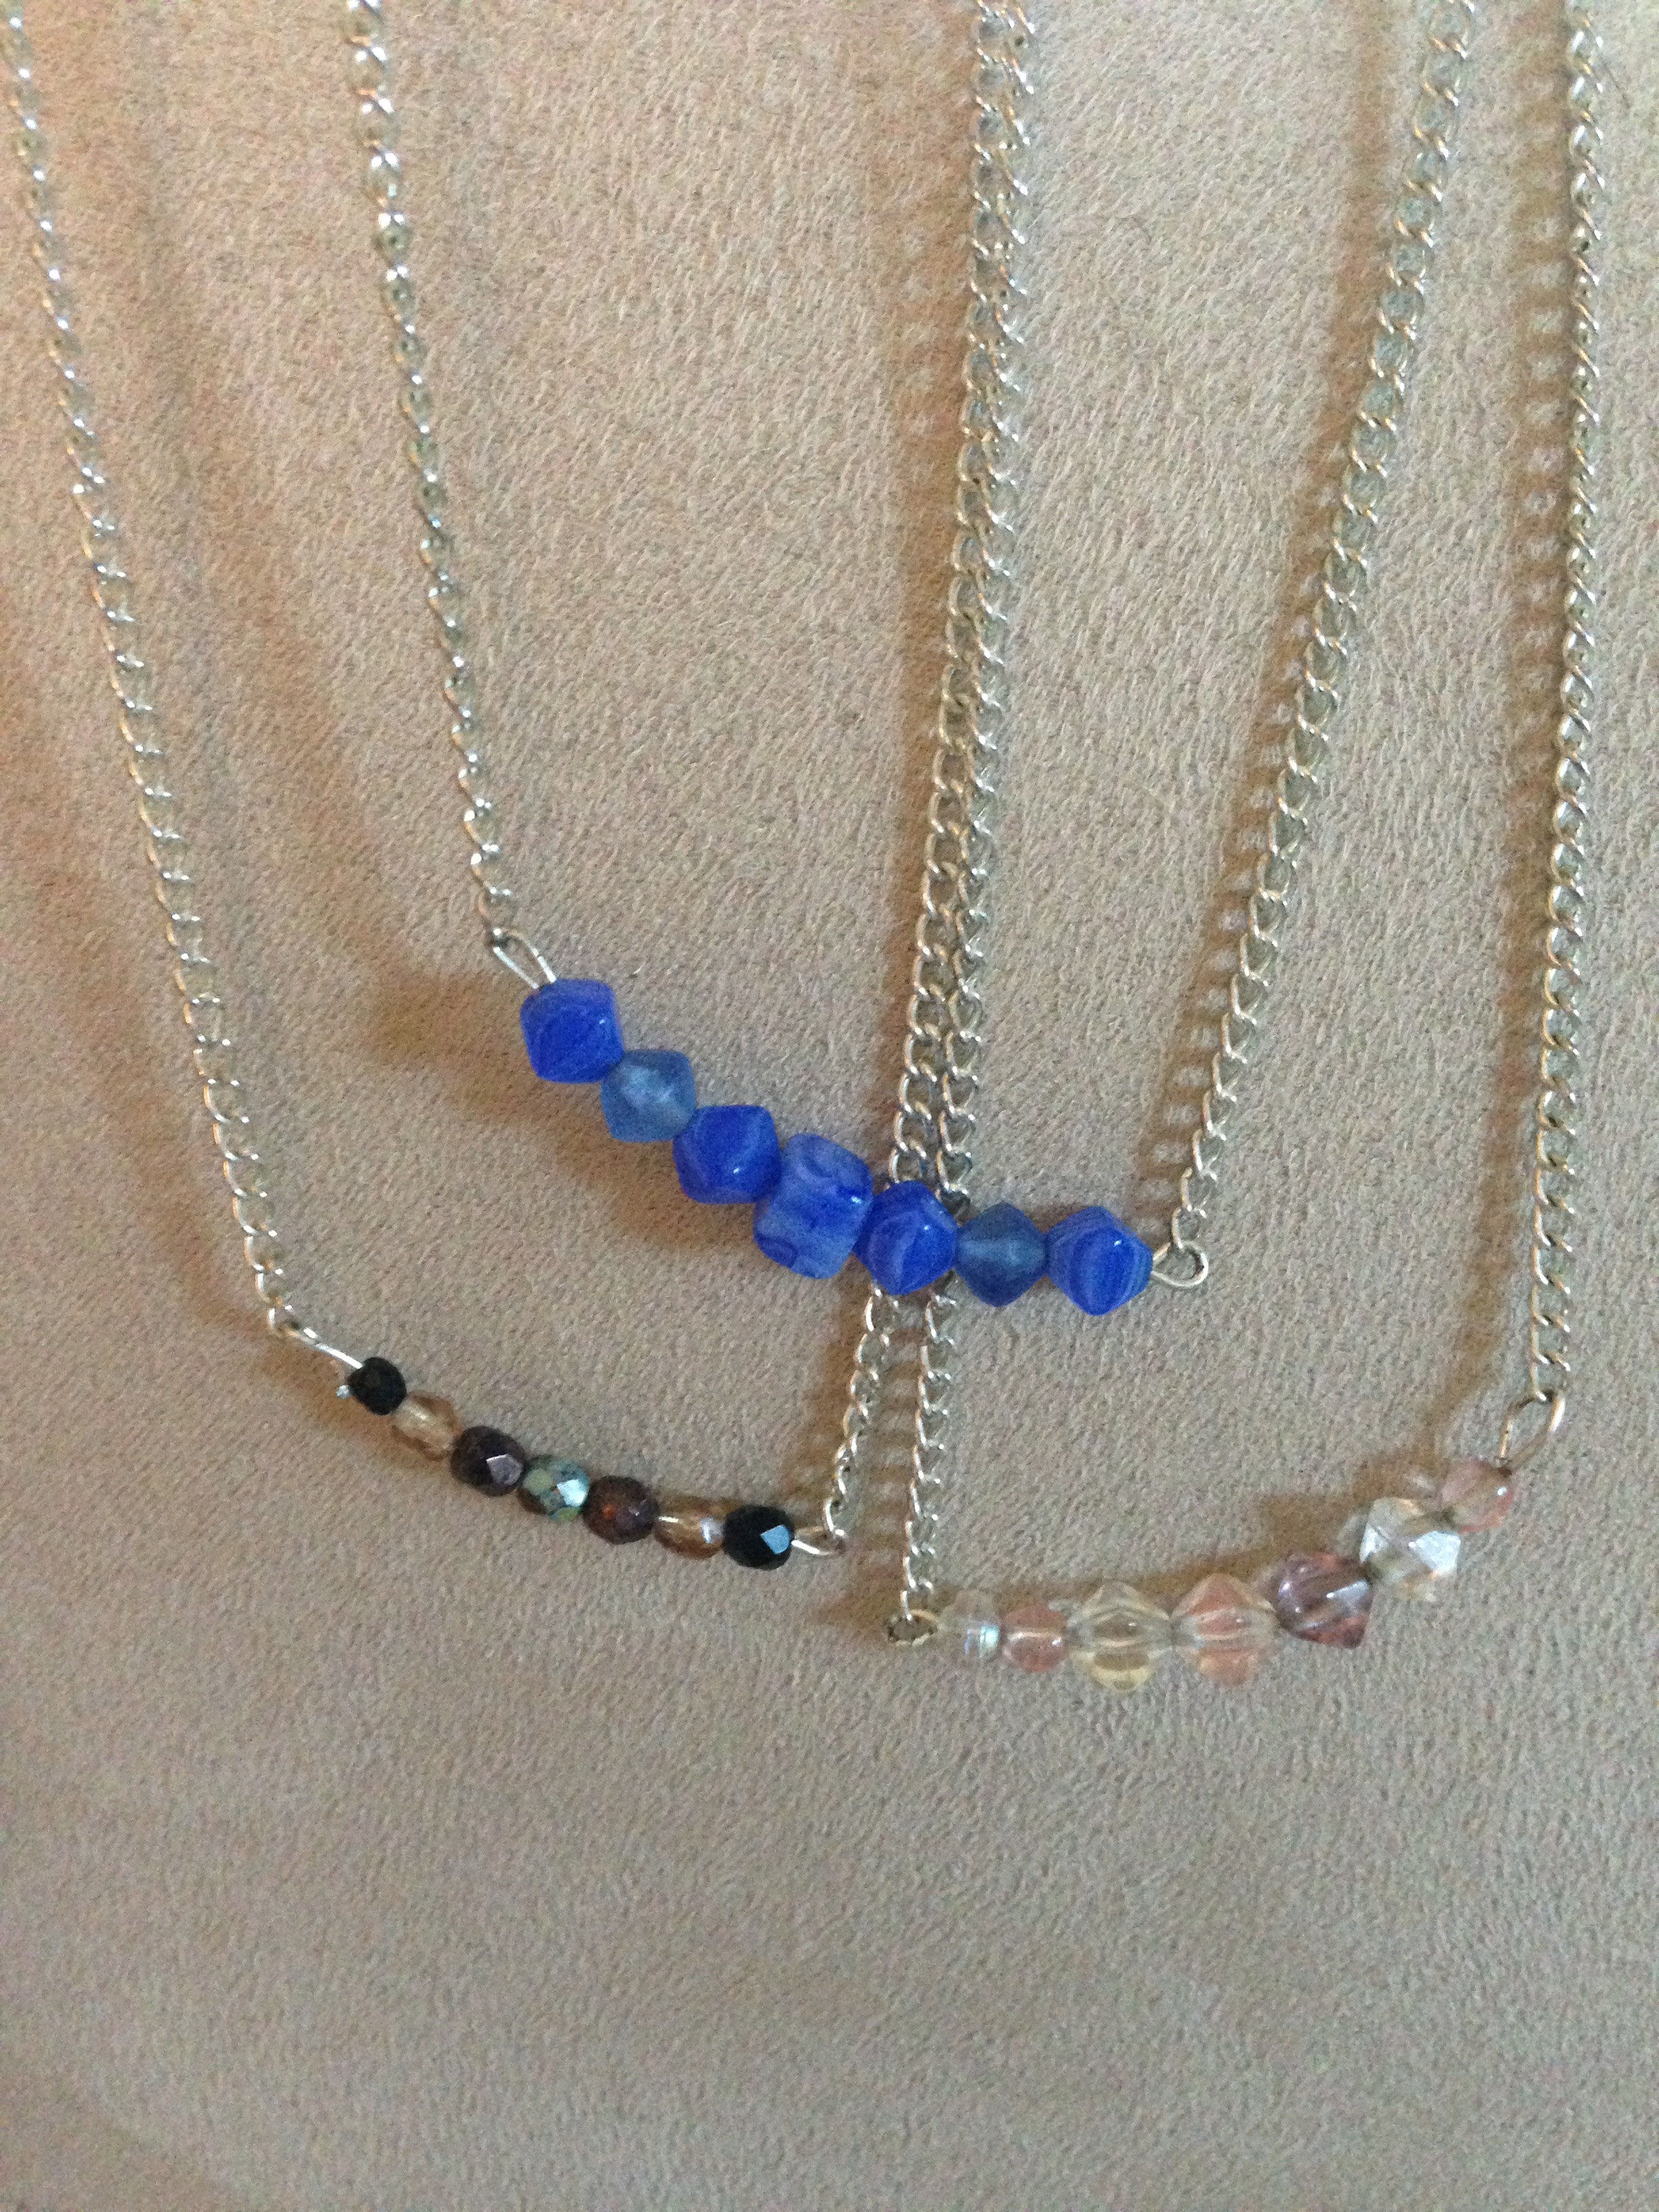
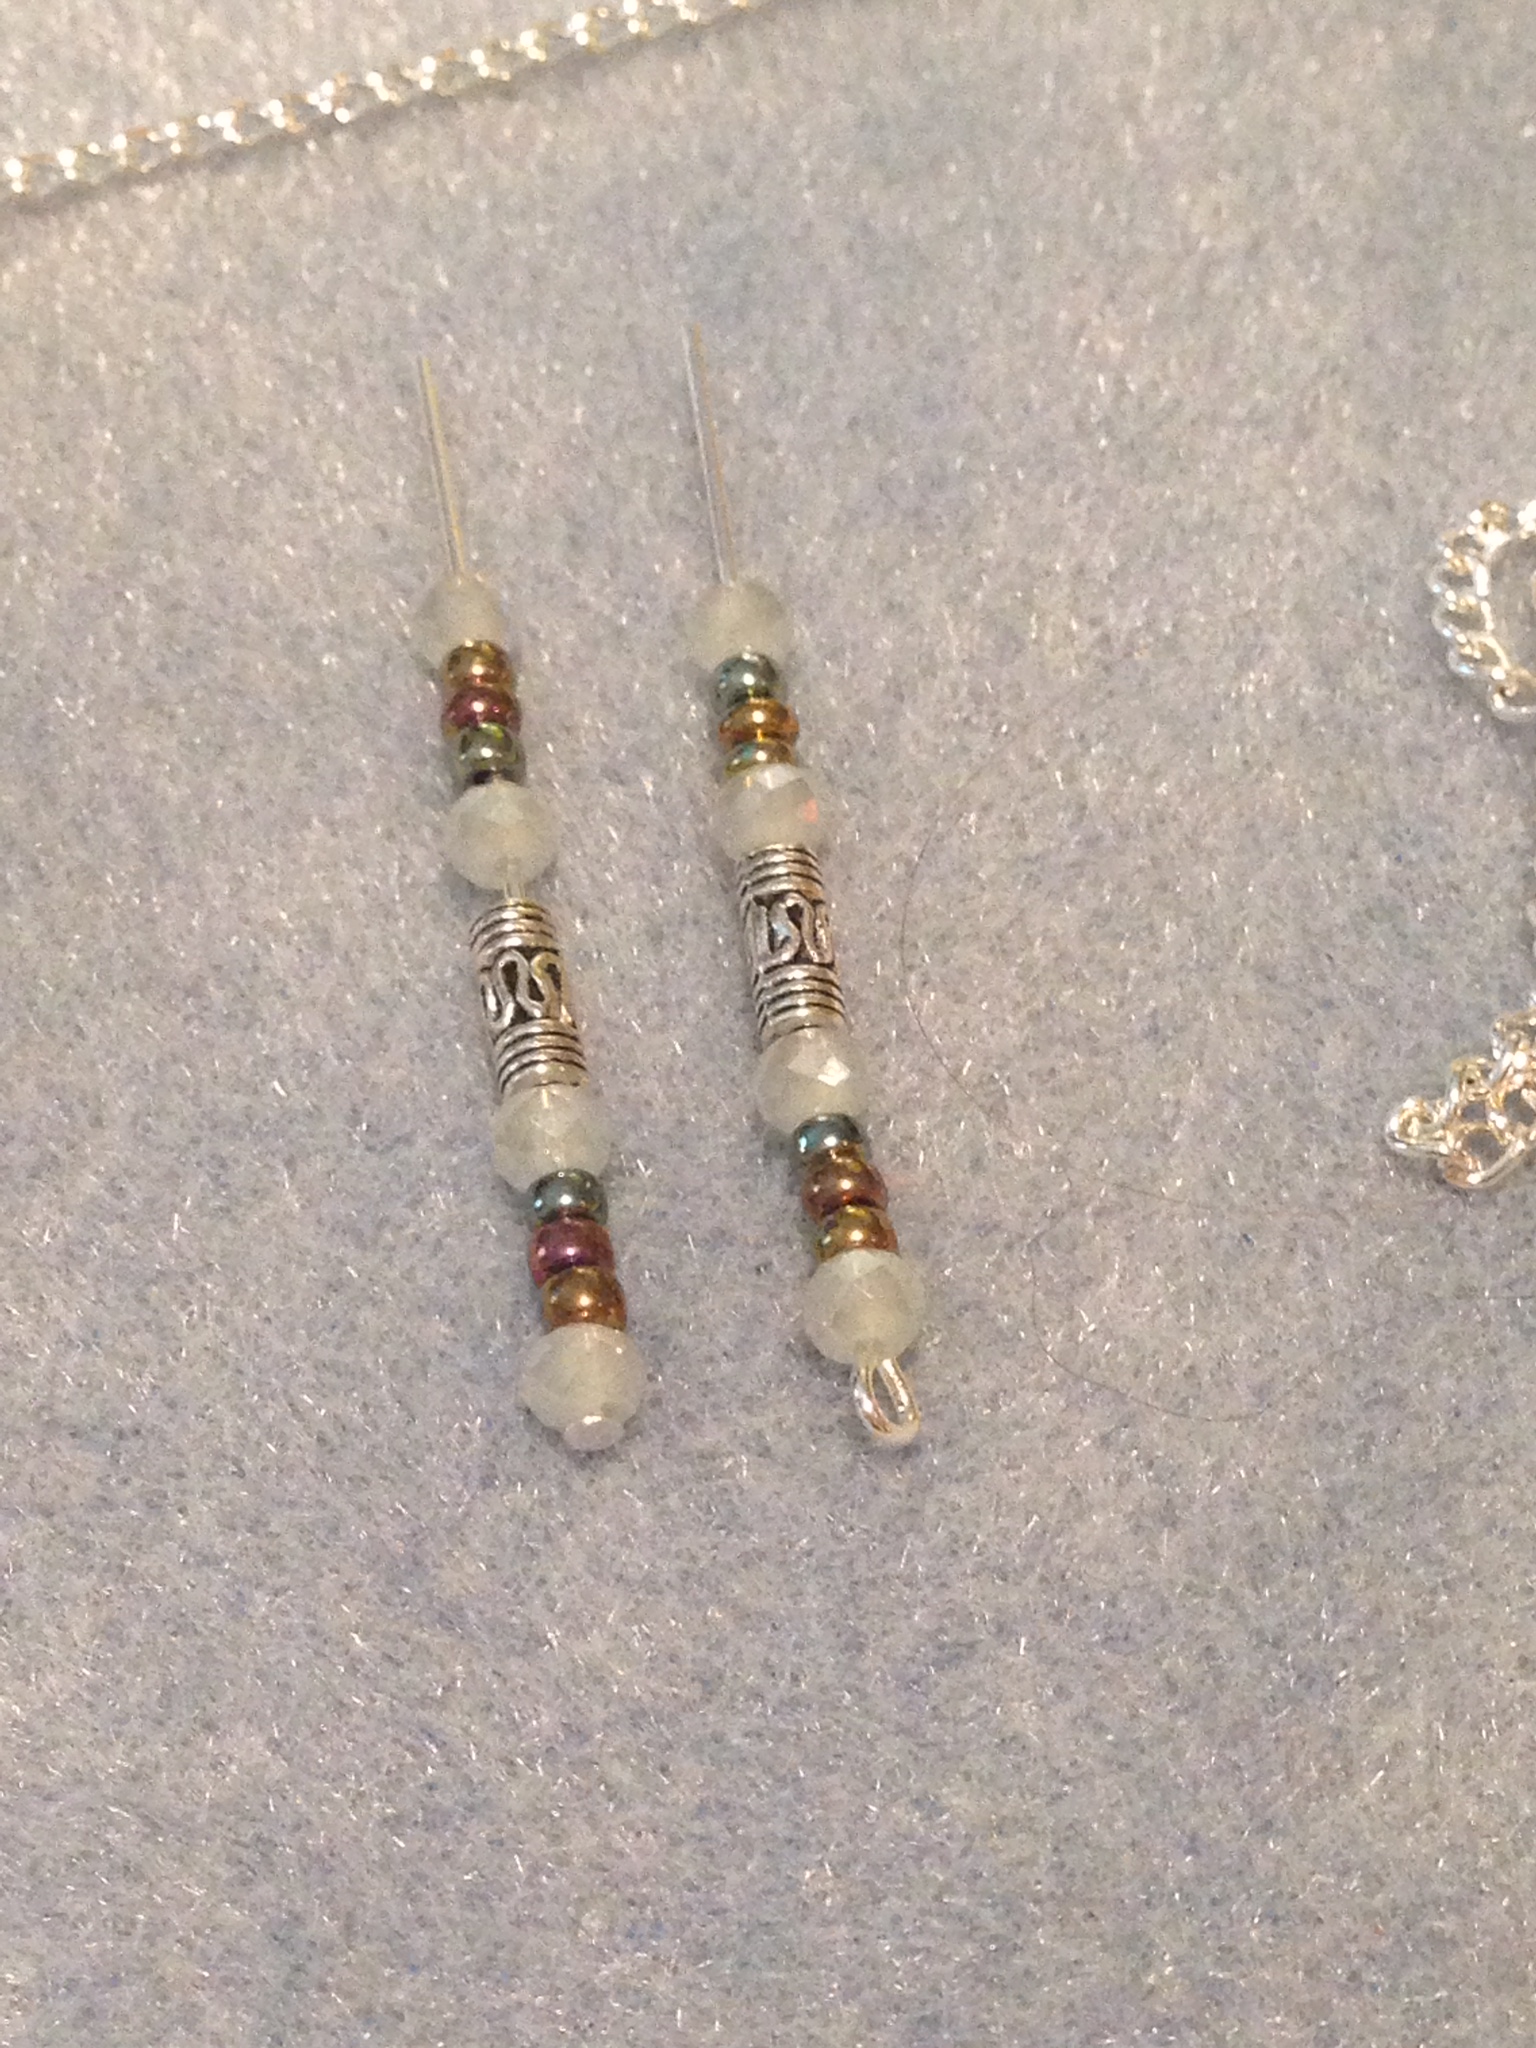
To begin, select the beads you want to work with. Play around with the order until you figure out how you like them best. Generally, I like smaller beads on the outside and a single, large bead in the center. The center bead could also be a different shape from the others, or a different color. Sometimes I like a gradient or ombre effect, sometimes all matchy-matchy. Figure out what you like!
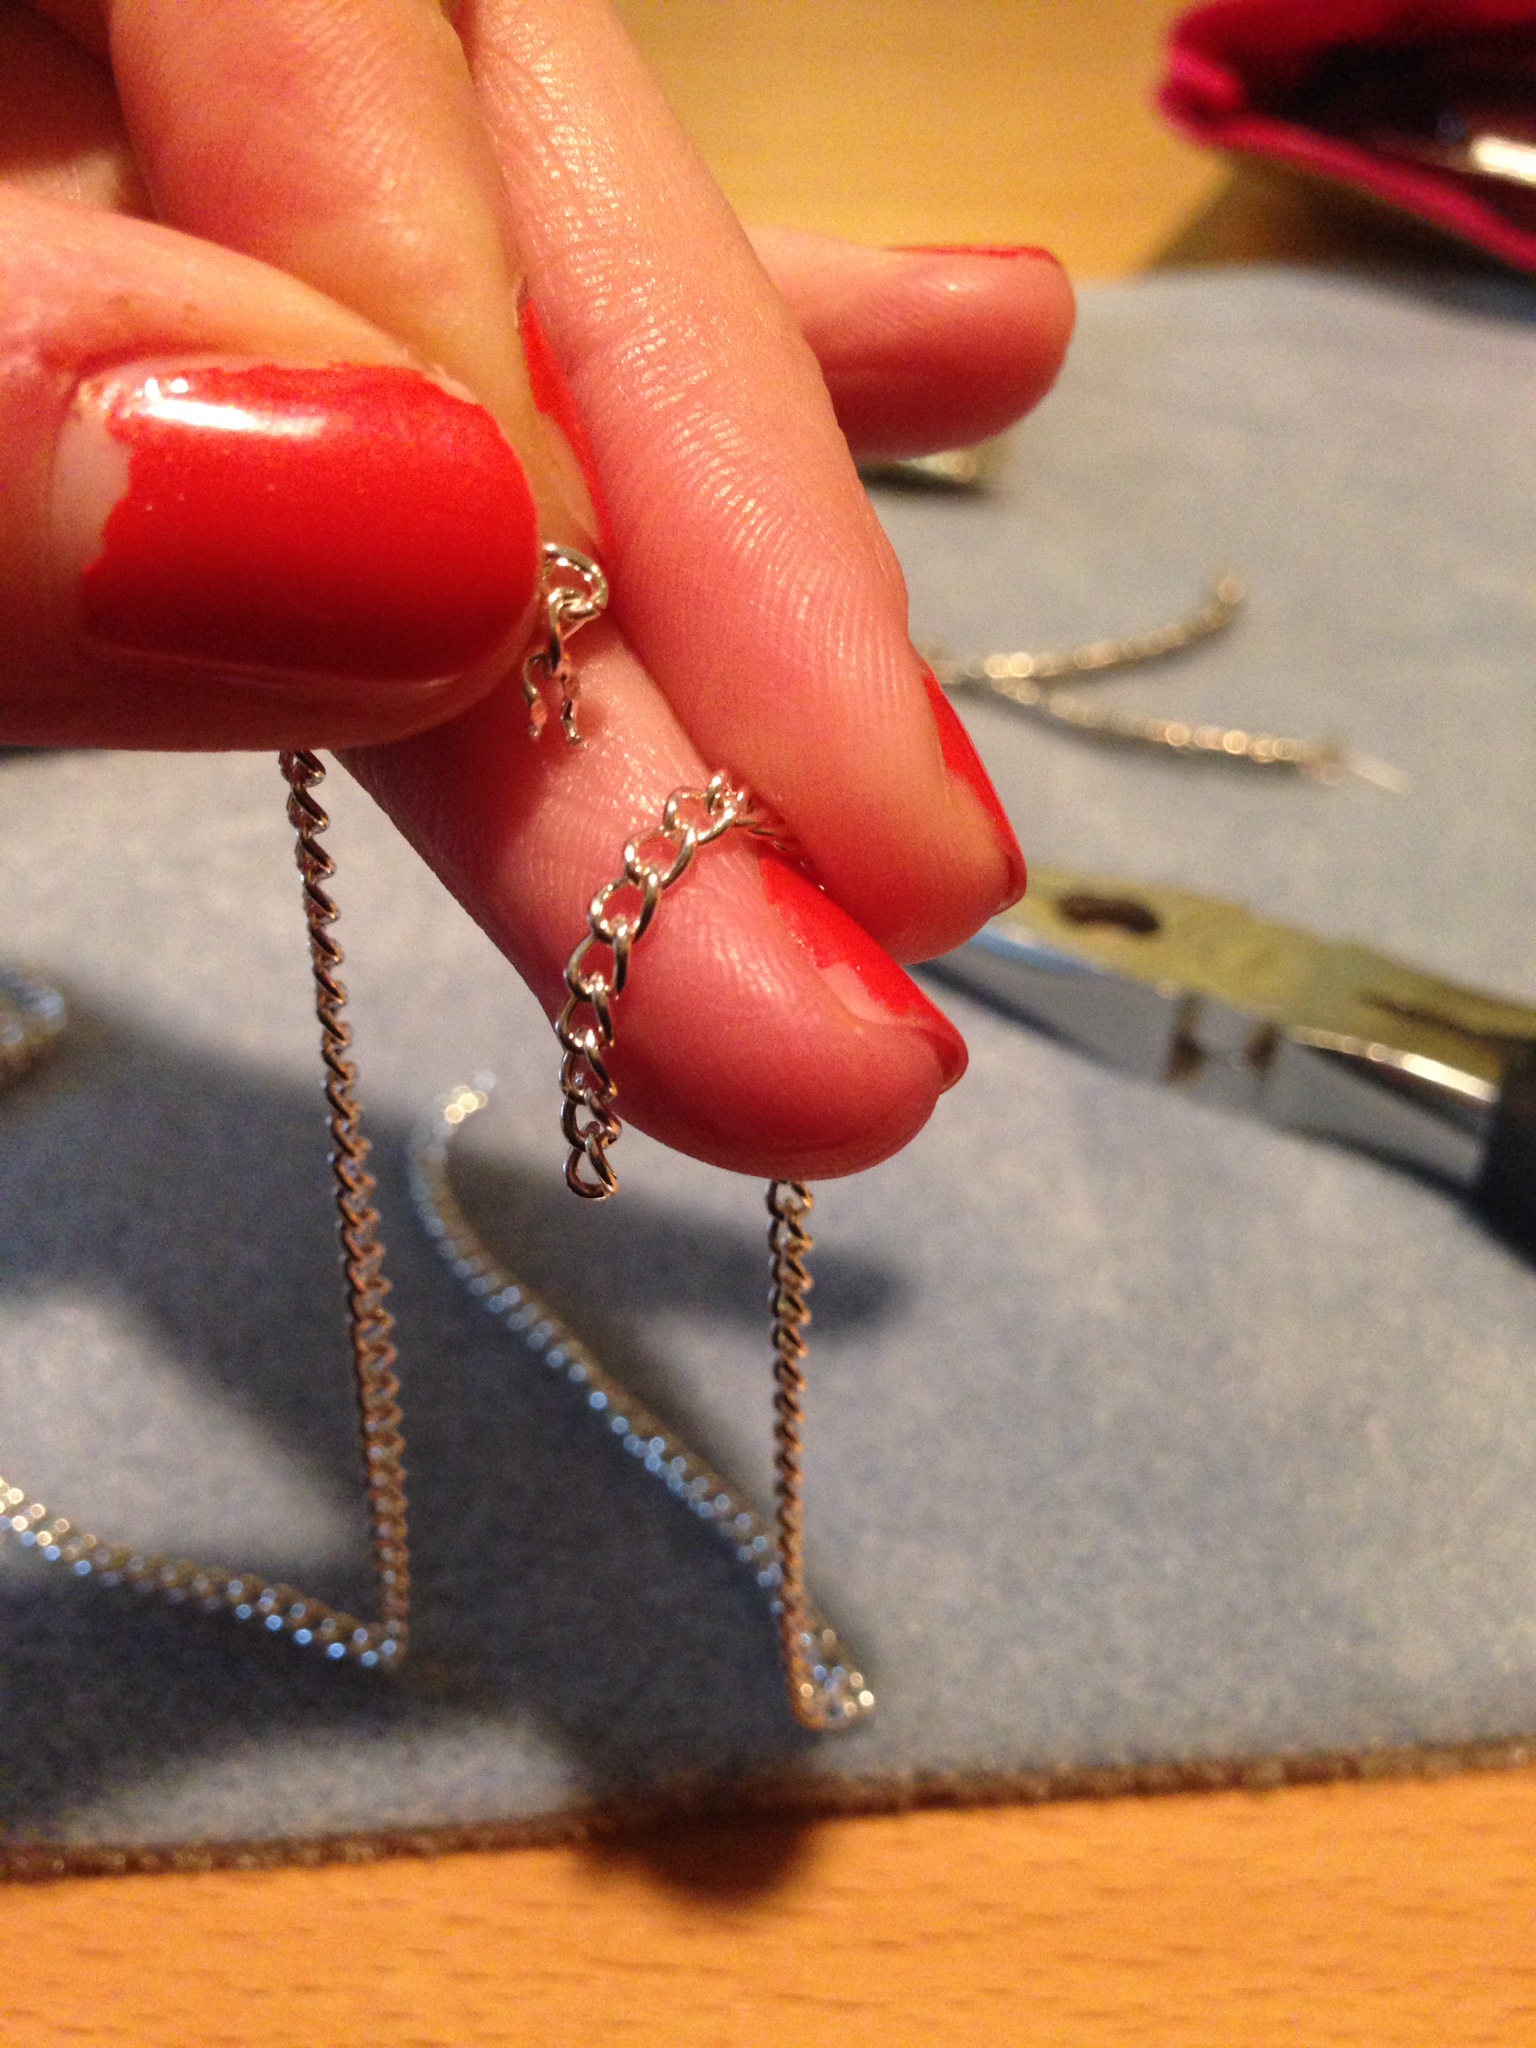
Then, get your chain out and drape it around your neck like a scarf. Measure the ends to figure out the length, and then keep your fingers pinched on the side you’ll be cutting.
Here are two different lengths of chain on me. The longer is 22″ of chain, the shorter is 19″.
(A sneaky tip: rather than making two necklaces, add an extra jump ring or two at two-inch intervals on the chain for quick shortening! Just pick your length and attach the clasp to the appropriate jump ring. Customization at its best!)
Trimming chain is super easy: just lay it between the sharp edges of your pliers and apply pressure.
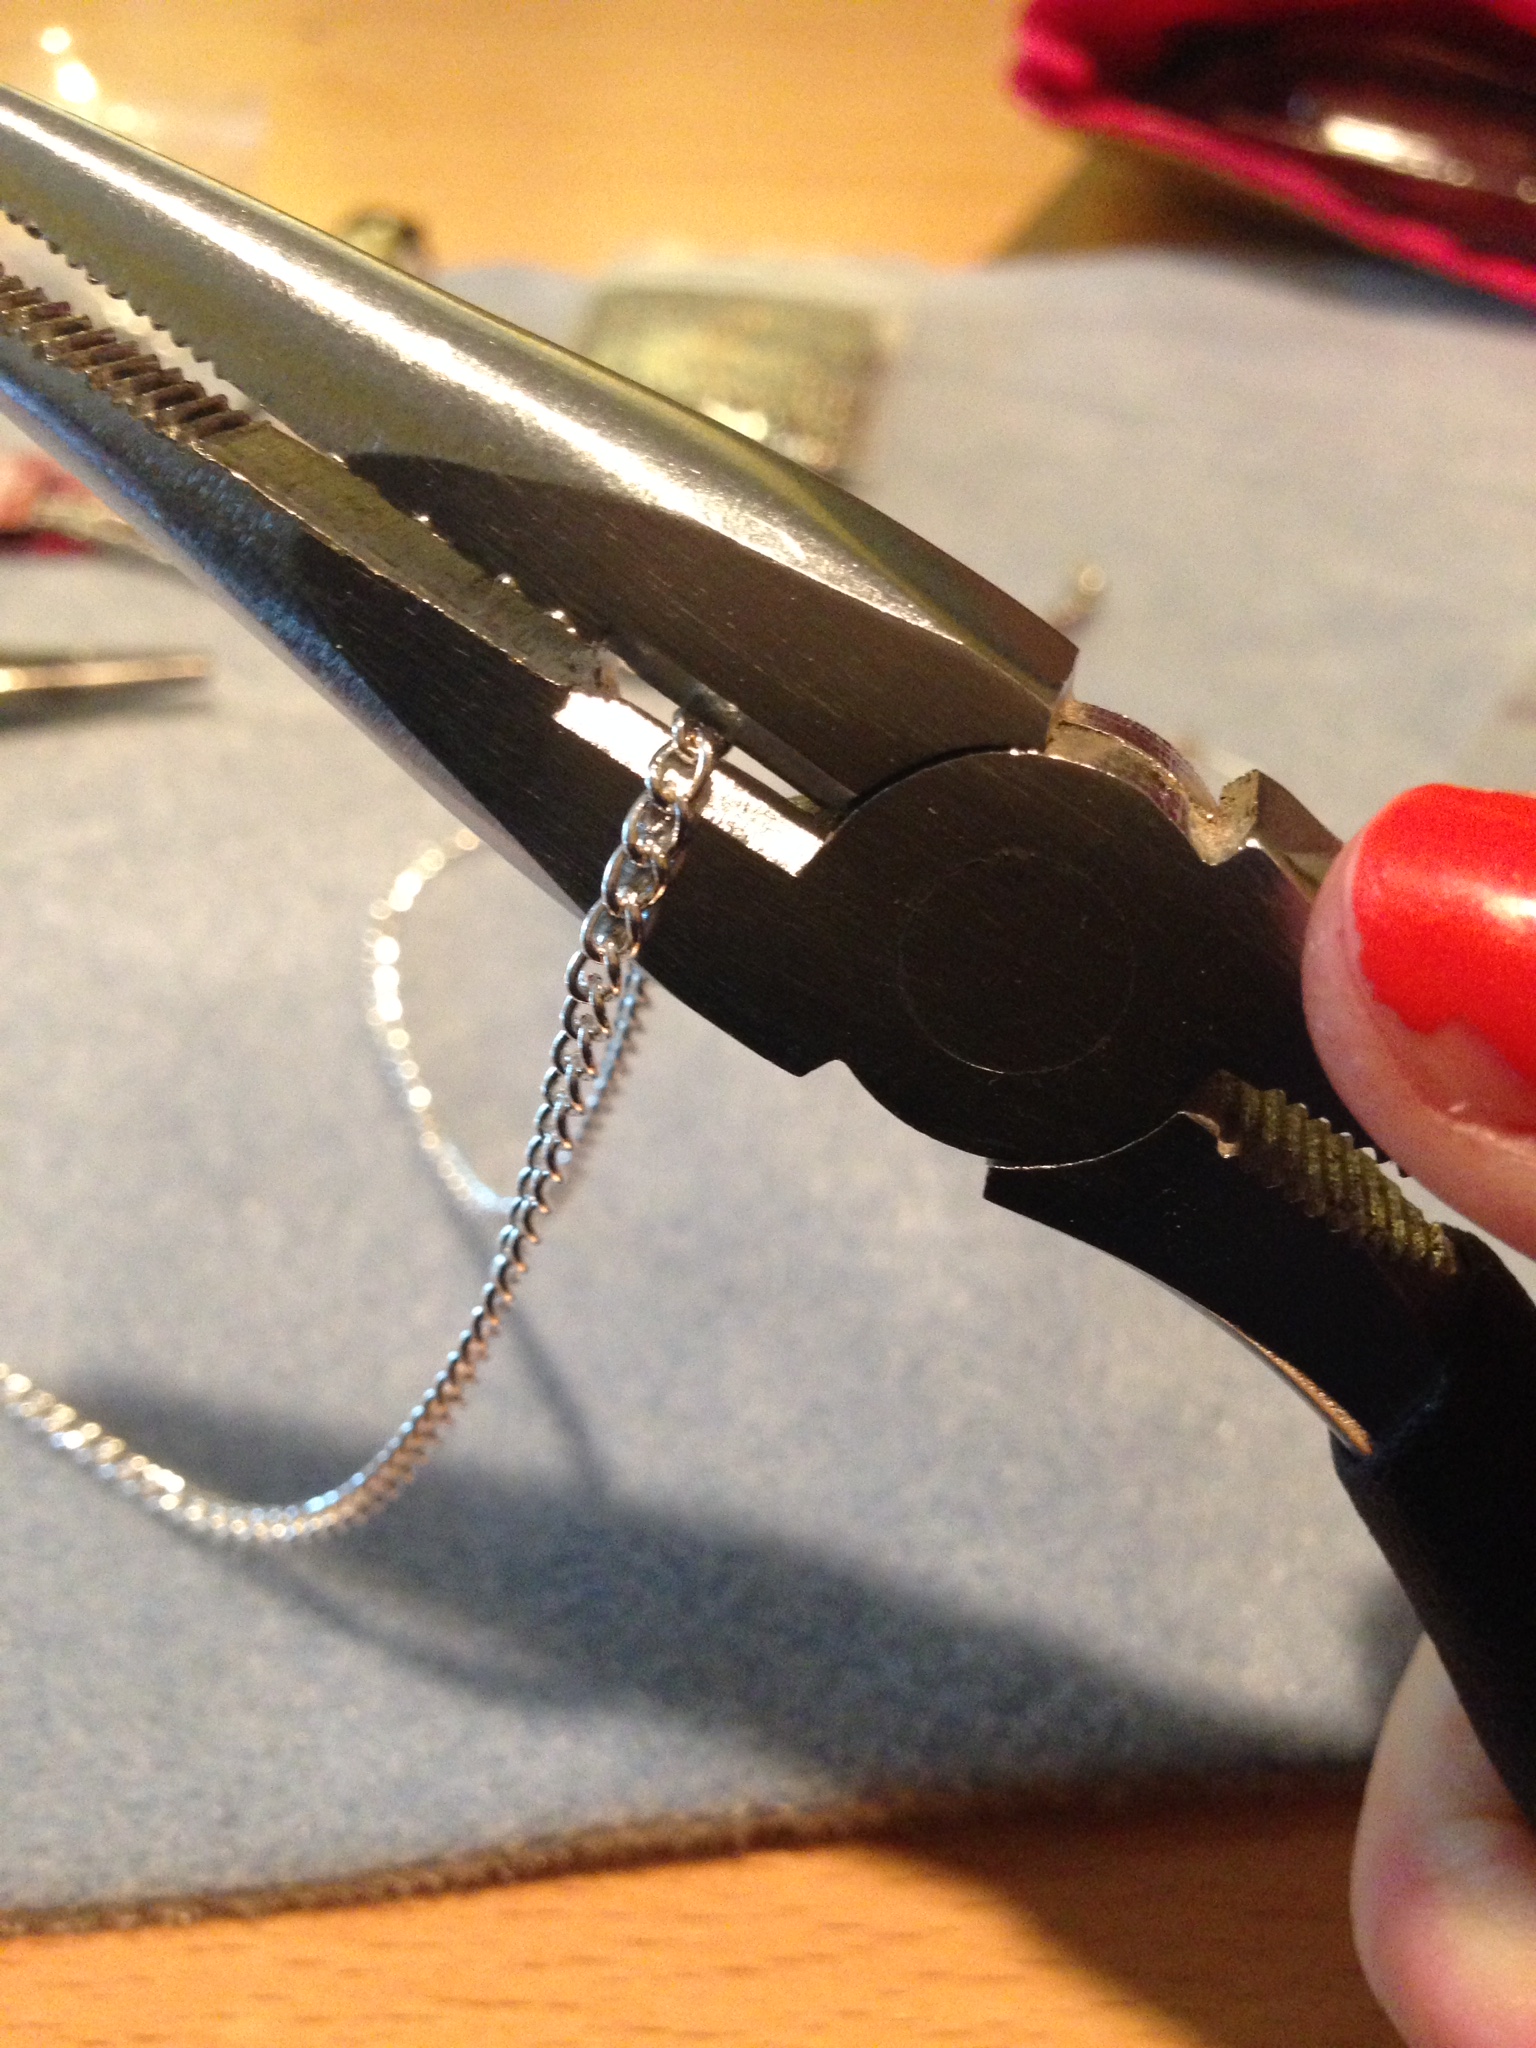
Done! Sometimes you need to give the chain a little tug to loosen the cut link.
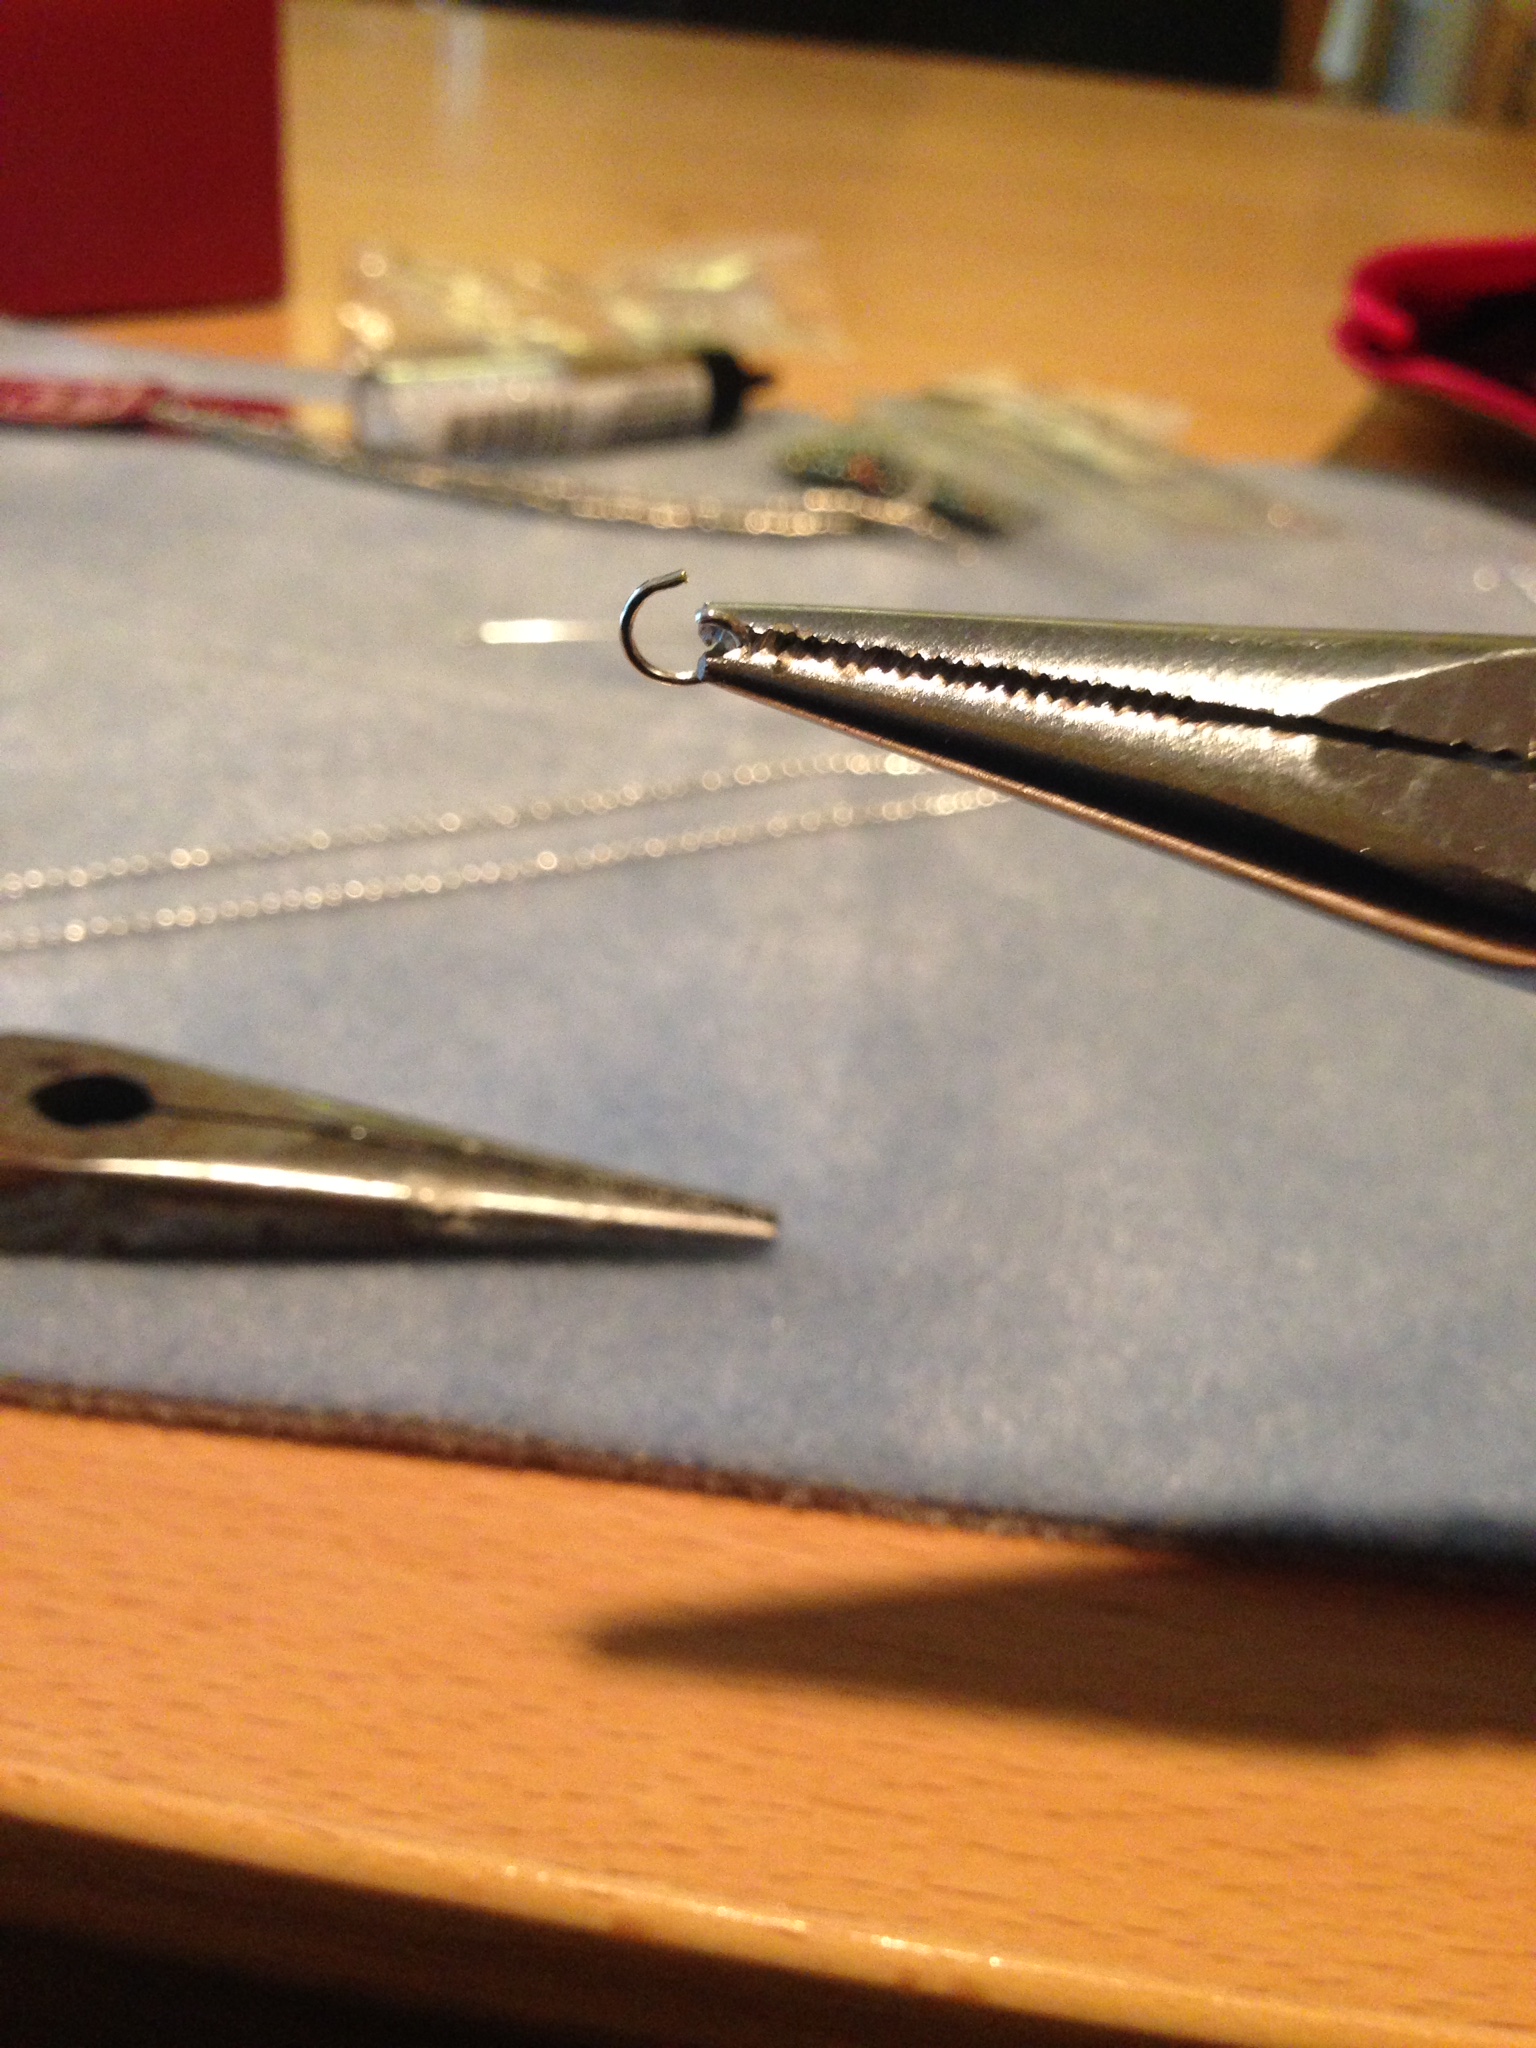
Next, finish the ends of the necklace with a larger jump ring and a lobster clasp. (I also add a small jump ring to the clasp-side to make it easier to attach the clasp).
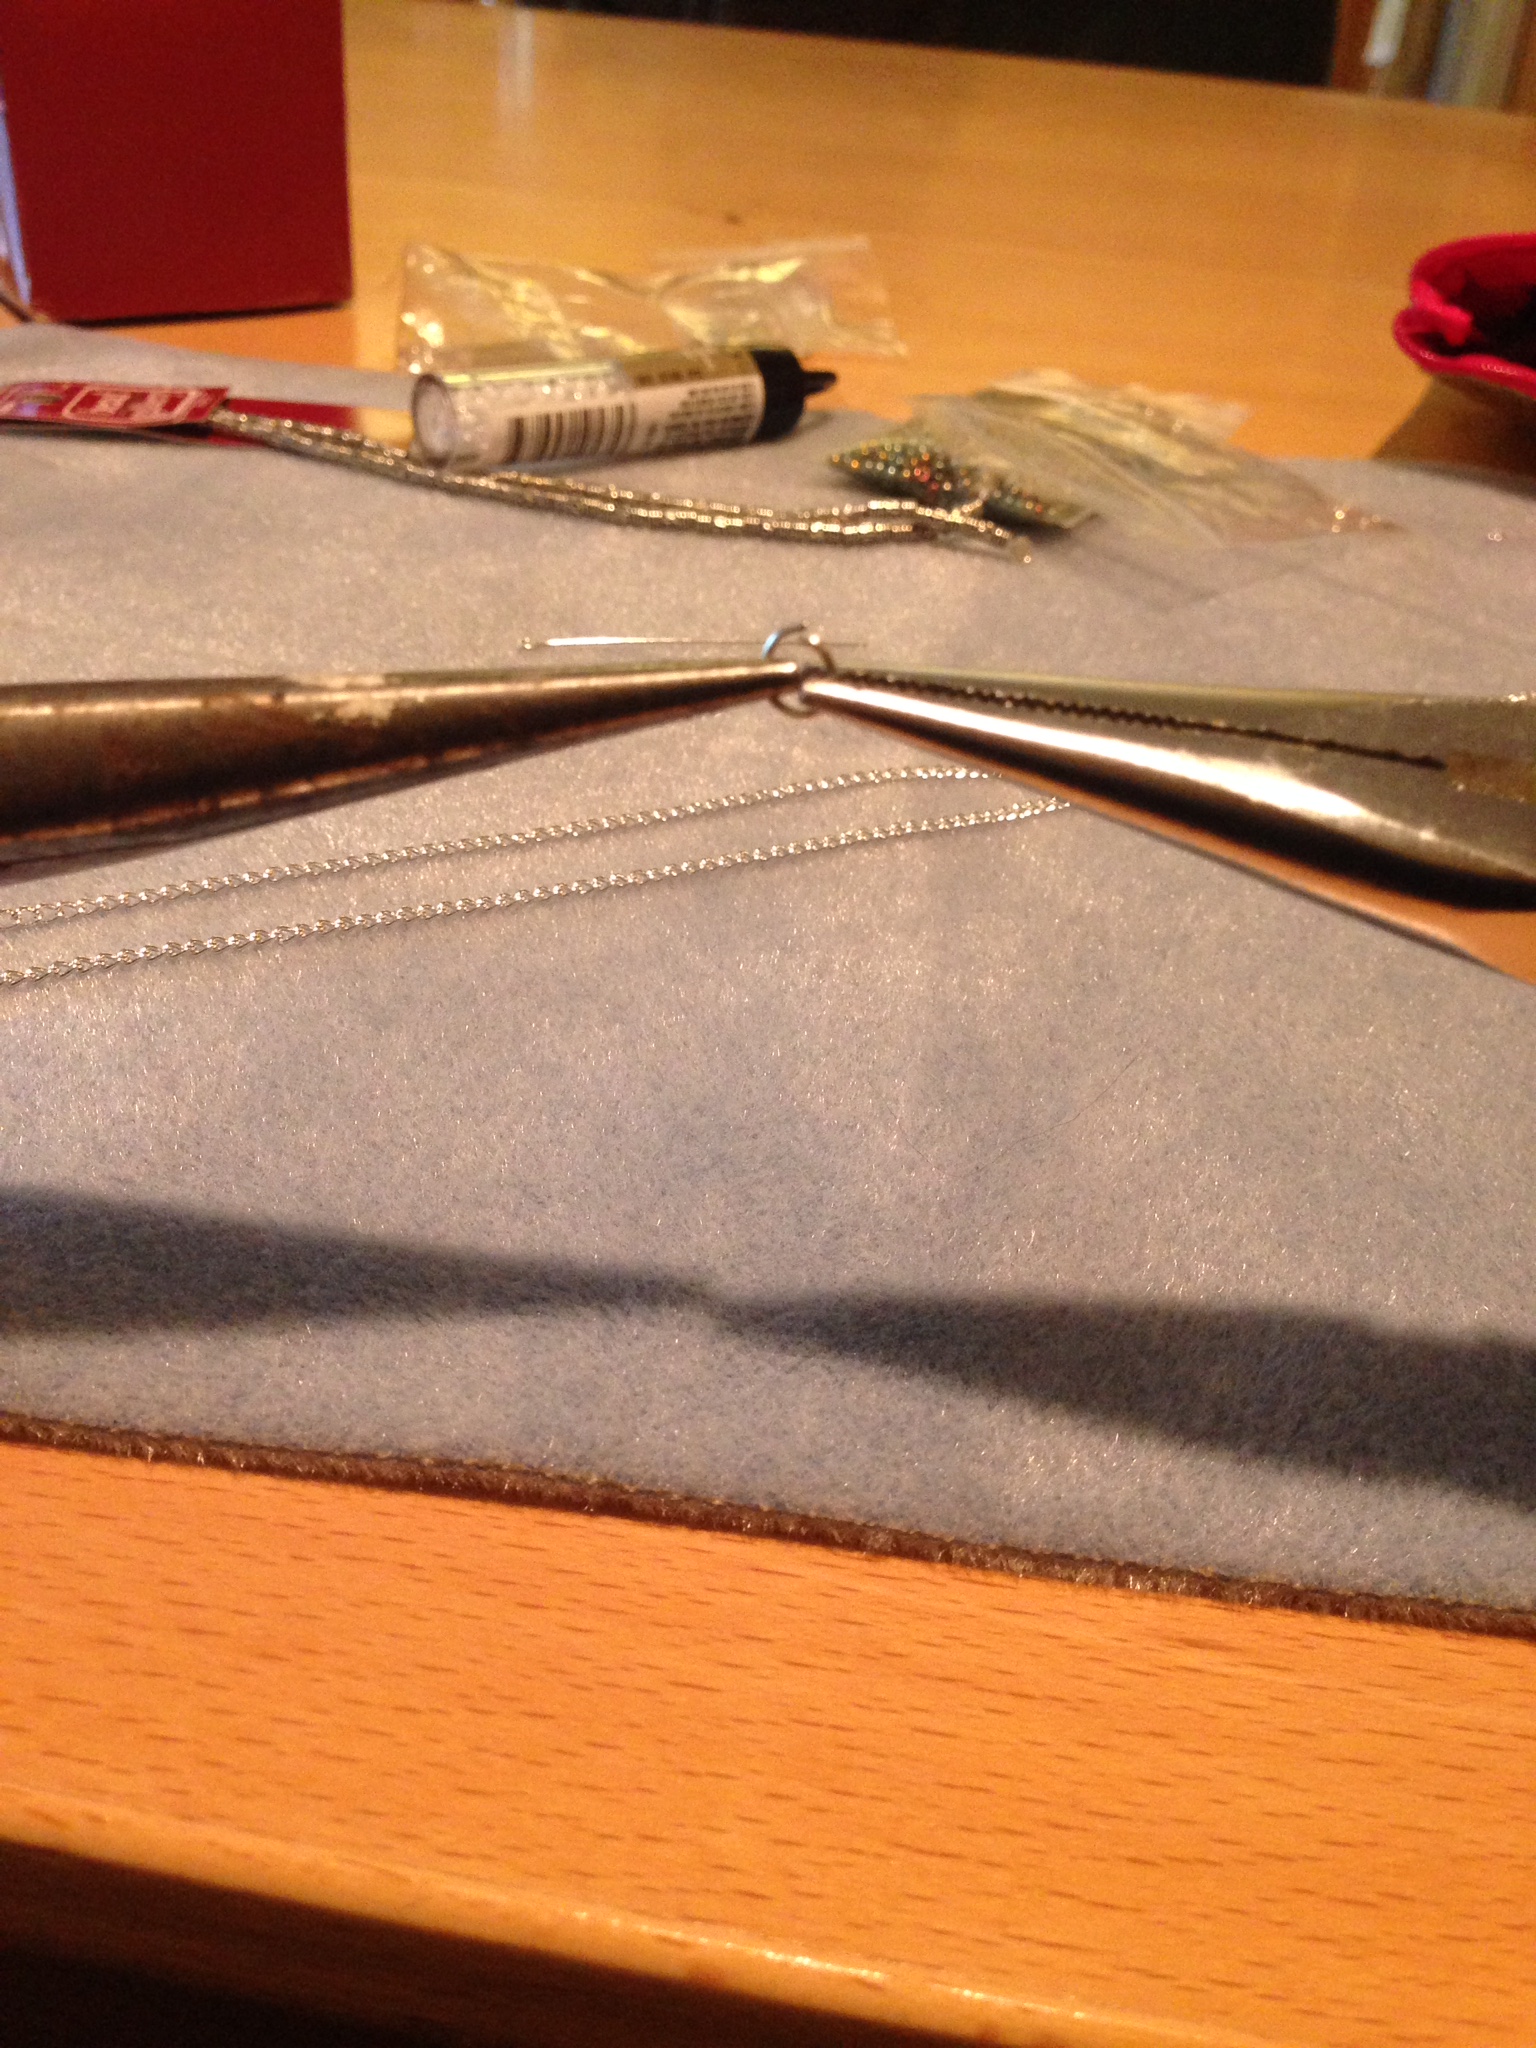
Open the jump ring by twisting it in opposite directions
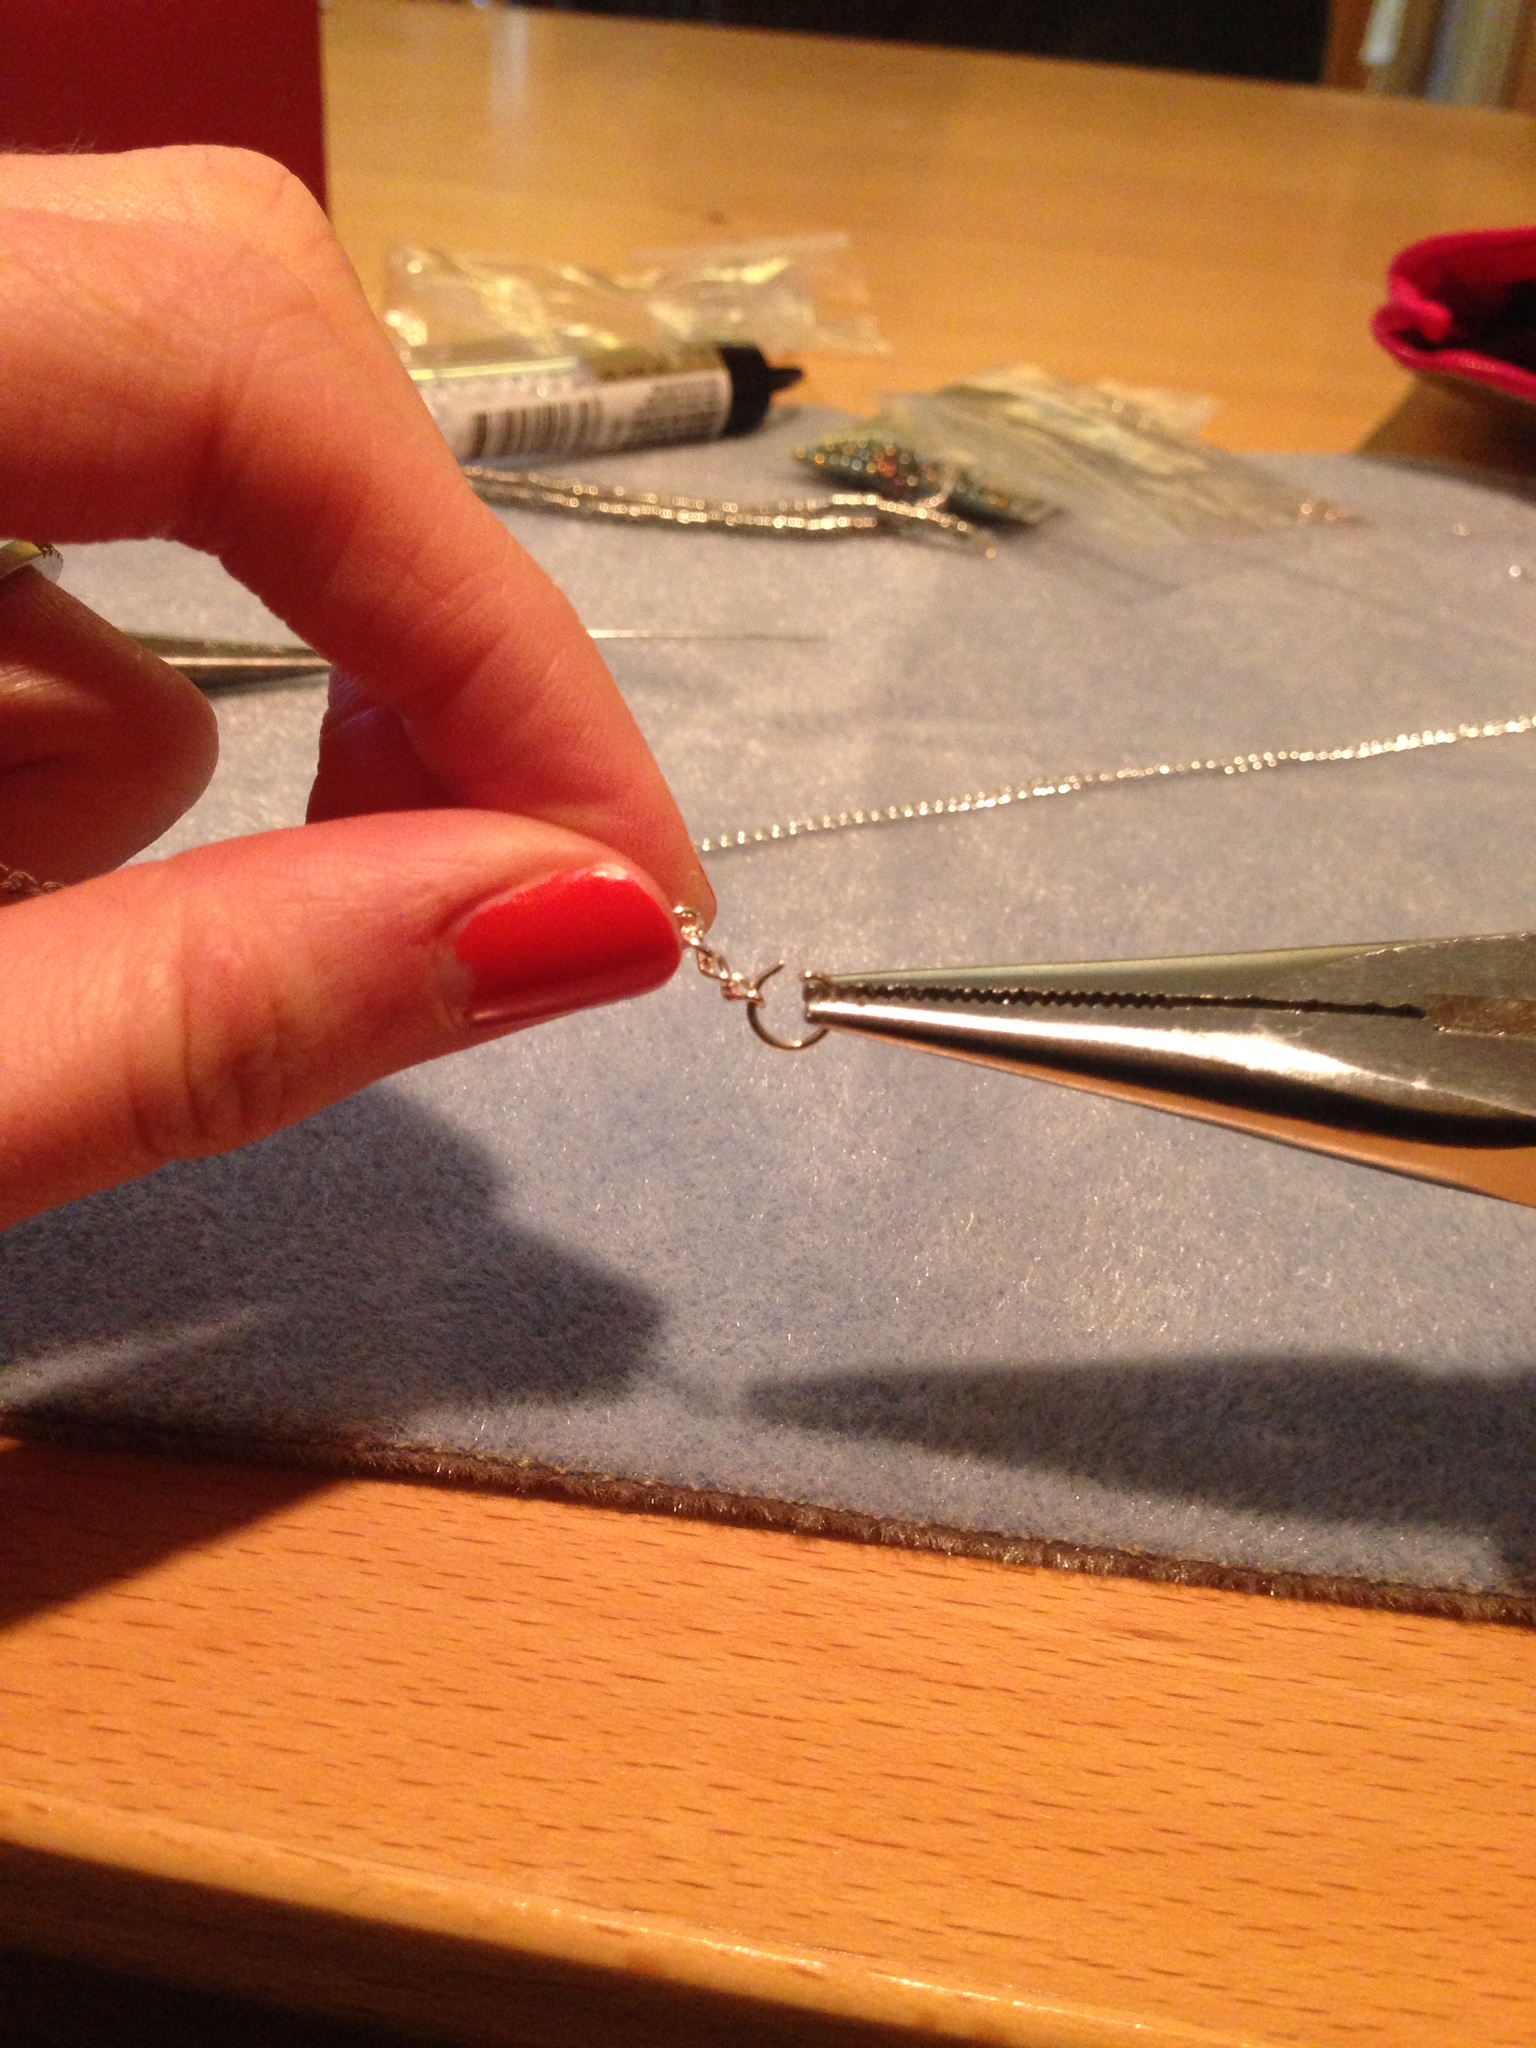
Repeat on one end of the other chain with a second jump ring, but thread the lobster clasp on before closing it up.
And the ends are done!
There are two ways to go about adding beads to the chain: with a head pin or an eye pin. My preference is generally an eye pin, although both work well. Since I have both pin styles and planned on making two necklaces, I figured I could do one with each!
Head pin & Eye pin
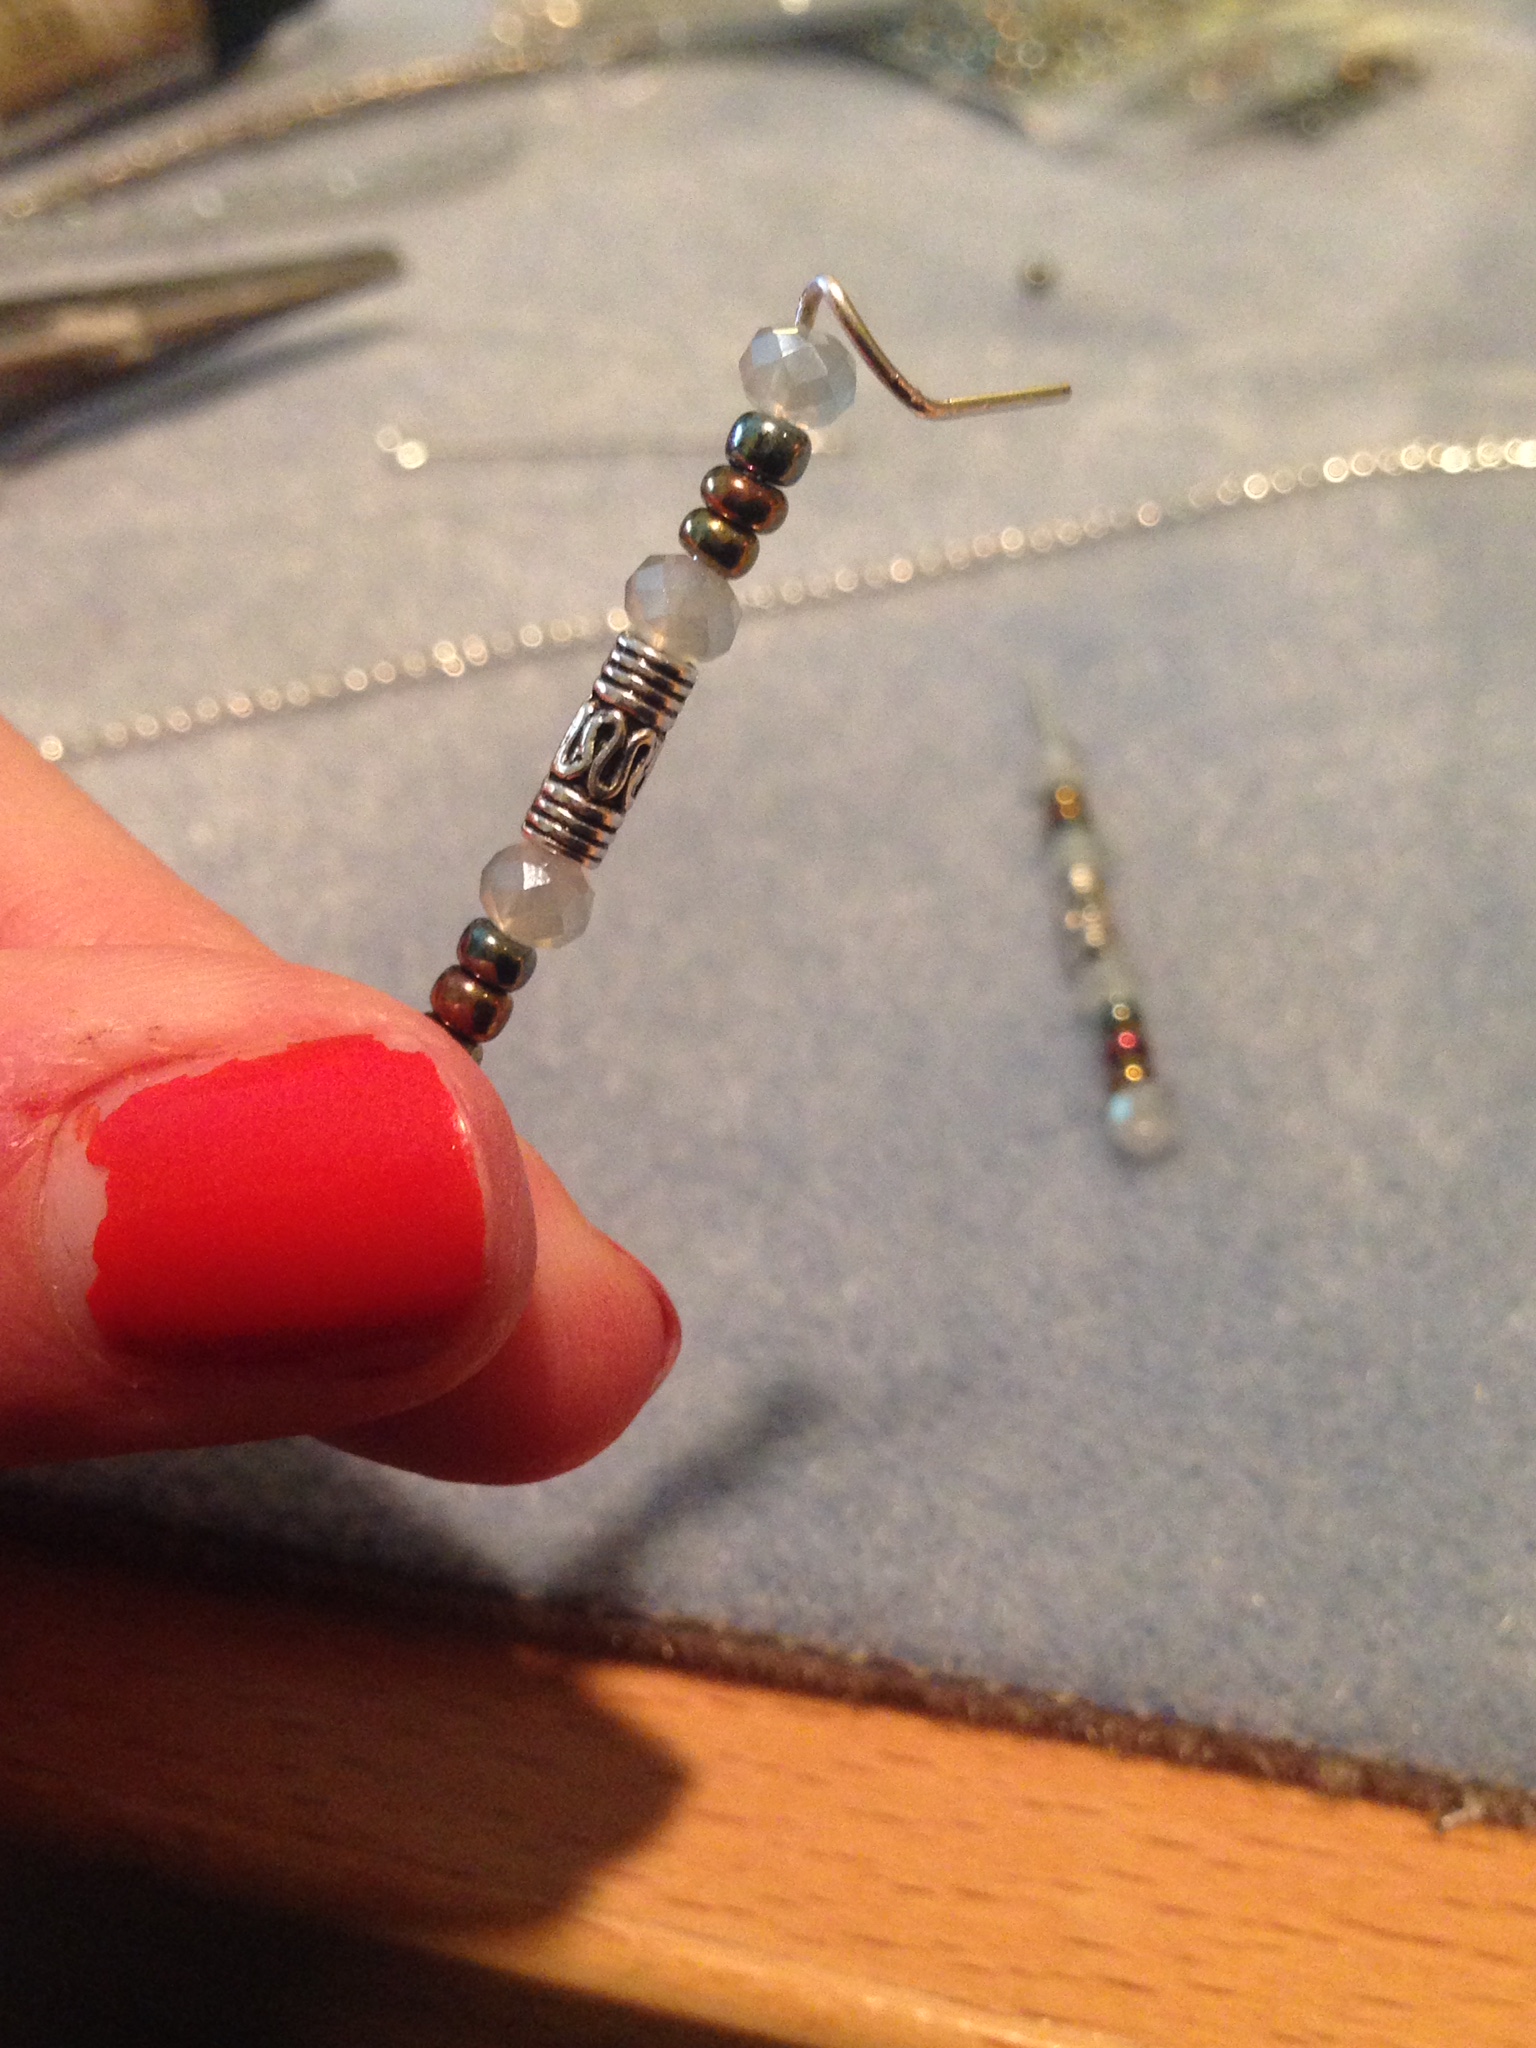
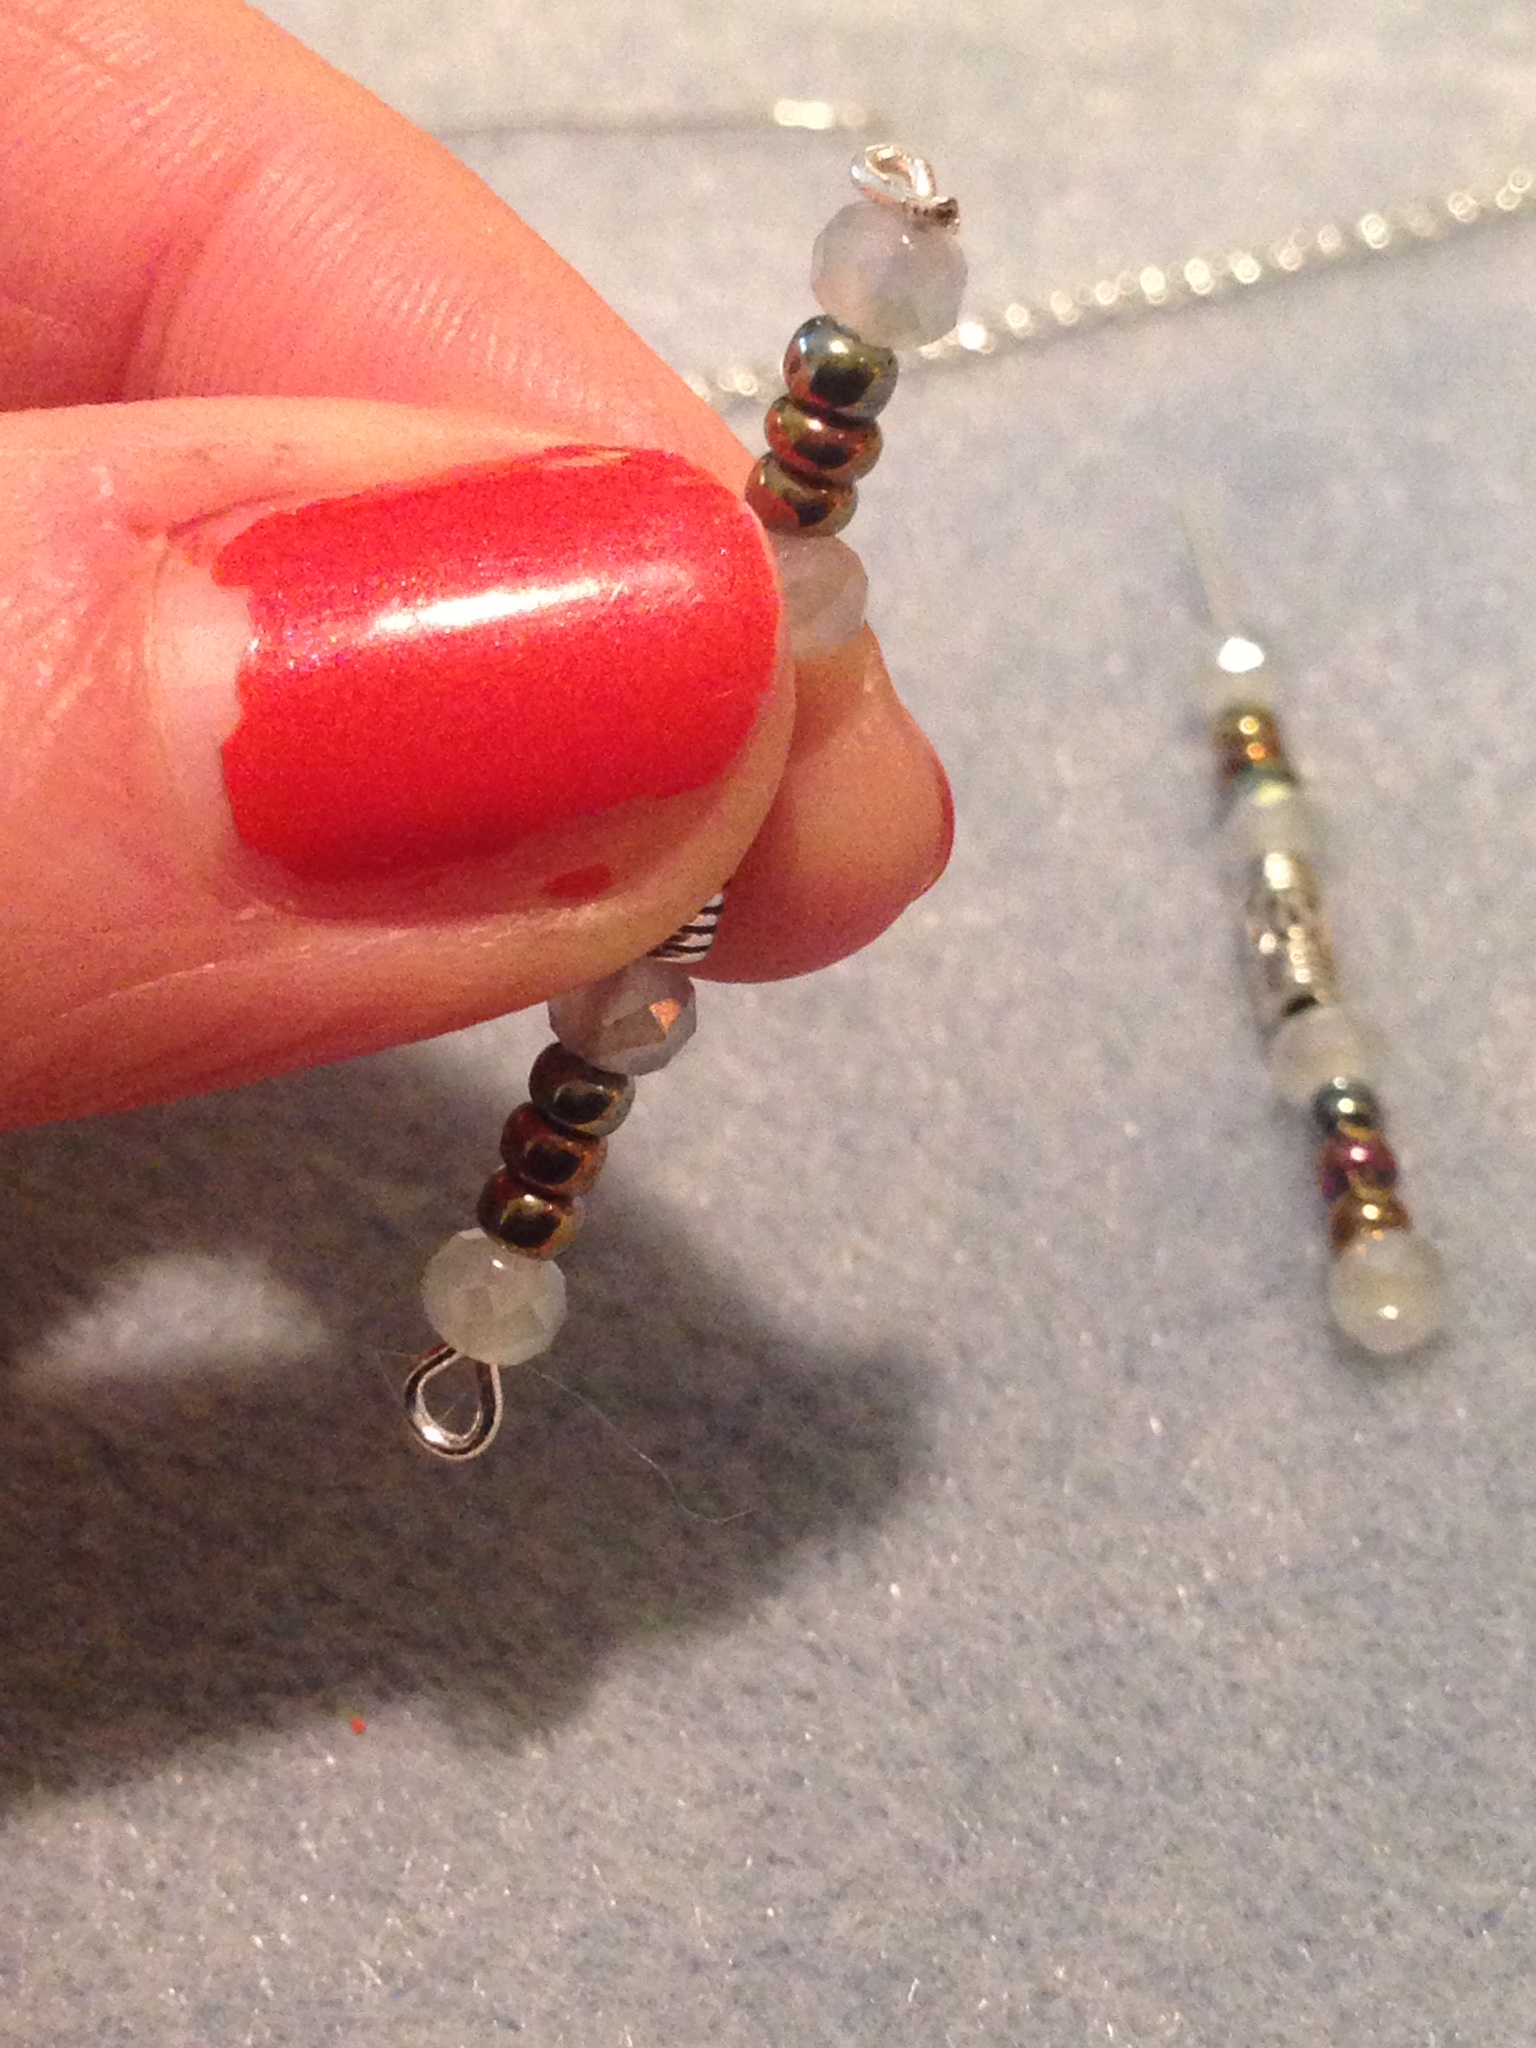
First, the eye pin. Start by loading it up with your selected beads. Leave yourself about 1/3 of the pin empty so we have space to close it off and secure the beads.
Bend the end 90º with pliers, then move the pliers to the flattened portion and bend that down about 90º, too. The idea is to make a flattened loop which won’t catch on any fabric but which will keep the beads from sliding off.

Snip off the extra bit of the pin and then use the pliers to squeeze the sharp edge down.
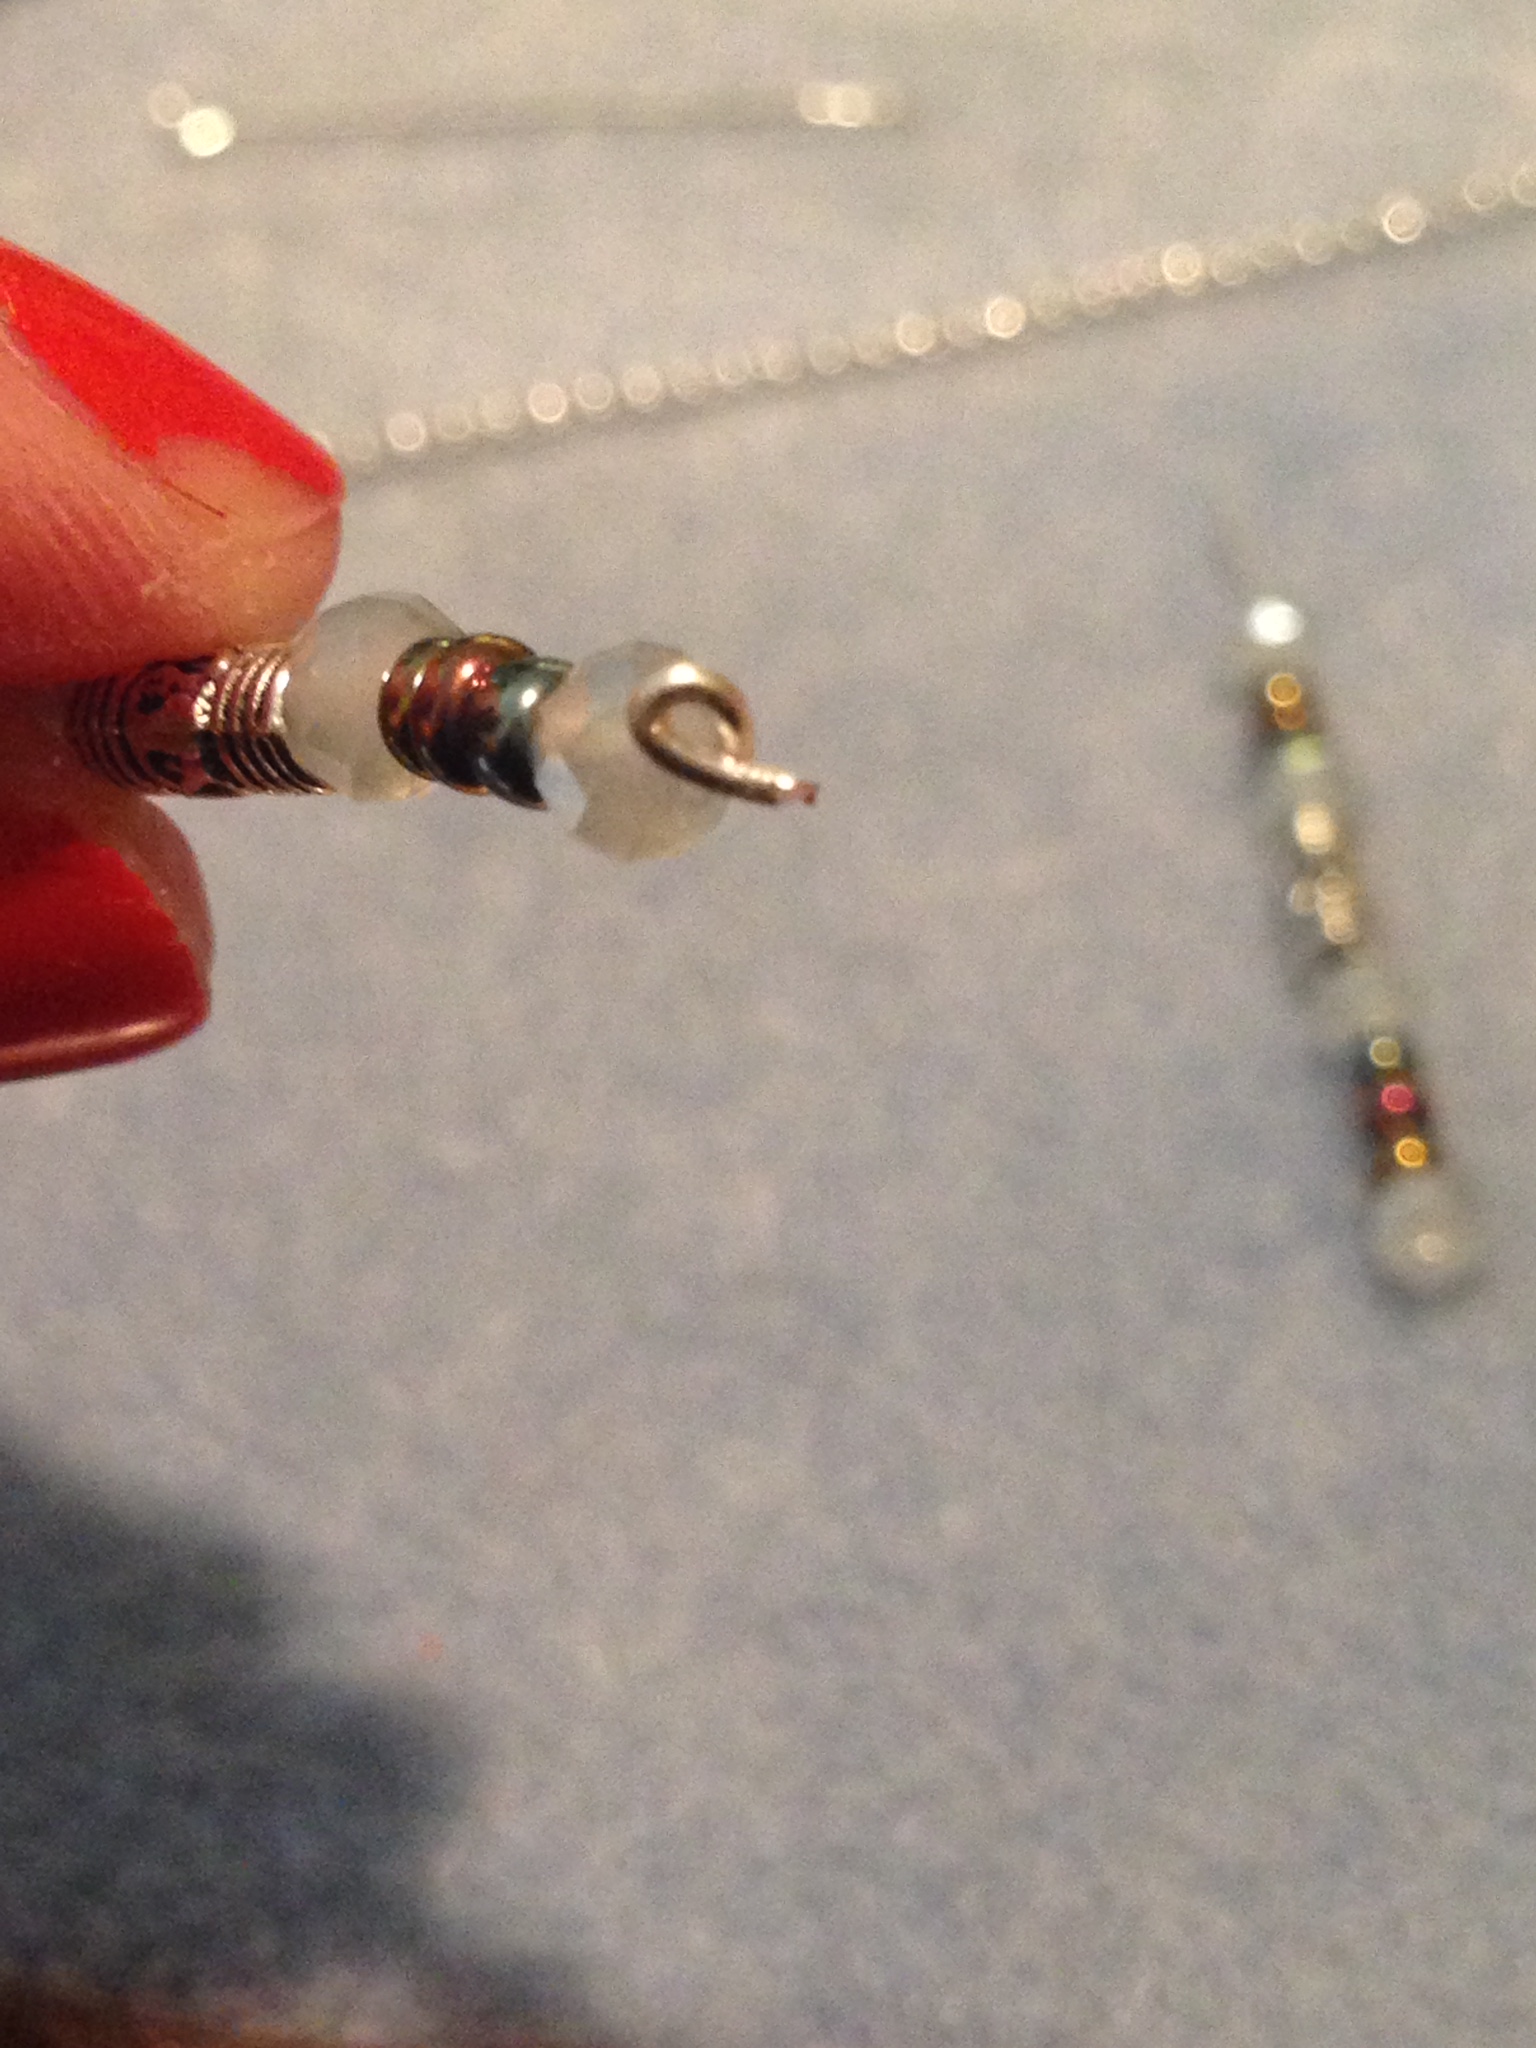
(This would be sooo much easier if I had proper jewelry pliers with tiny little noses! Note to self: delicate work cannot be done without delicate tools).
Now, the head pin. Like with the eye pin, start by making a loop. This works best by pinching the pliers right at the base of the pin and then again a bit higher.
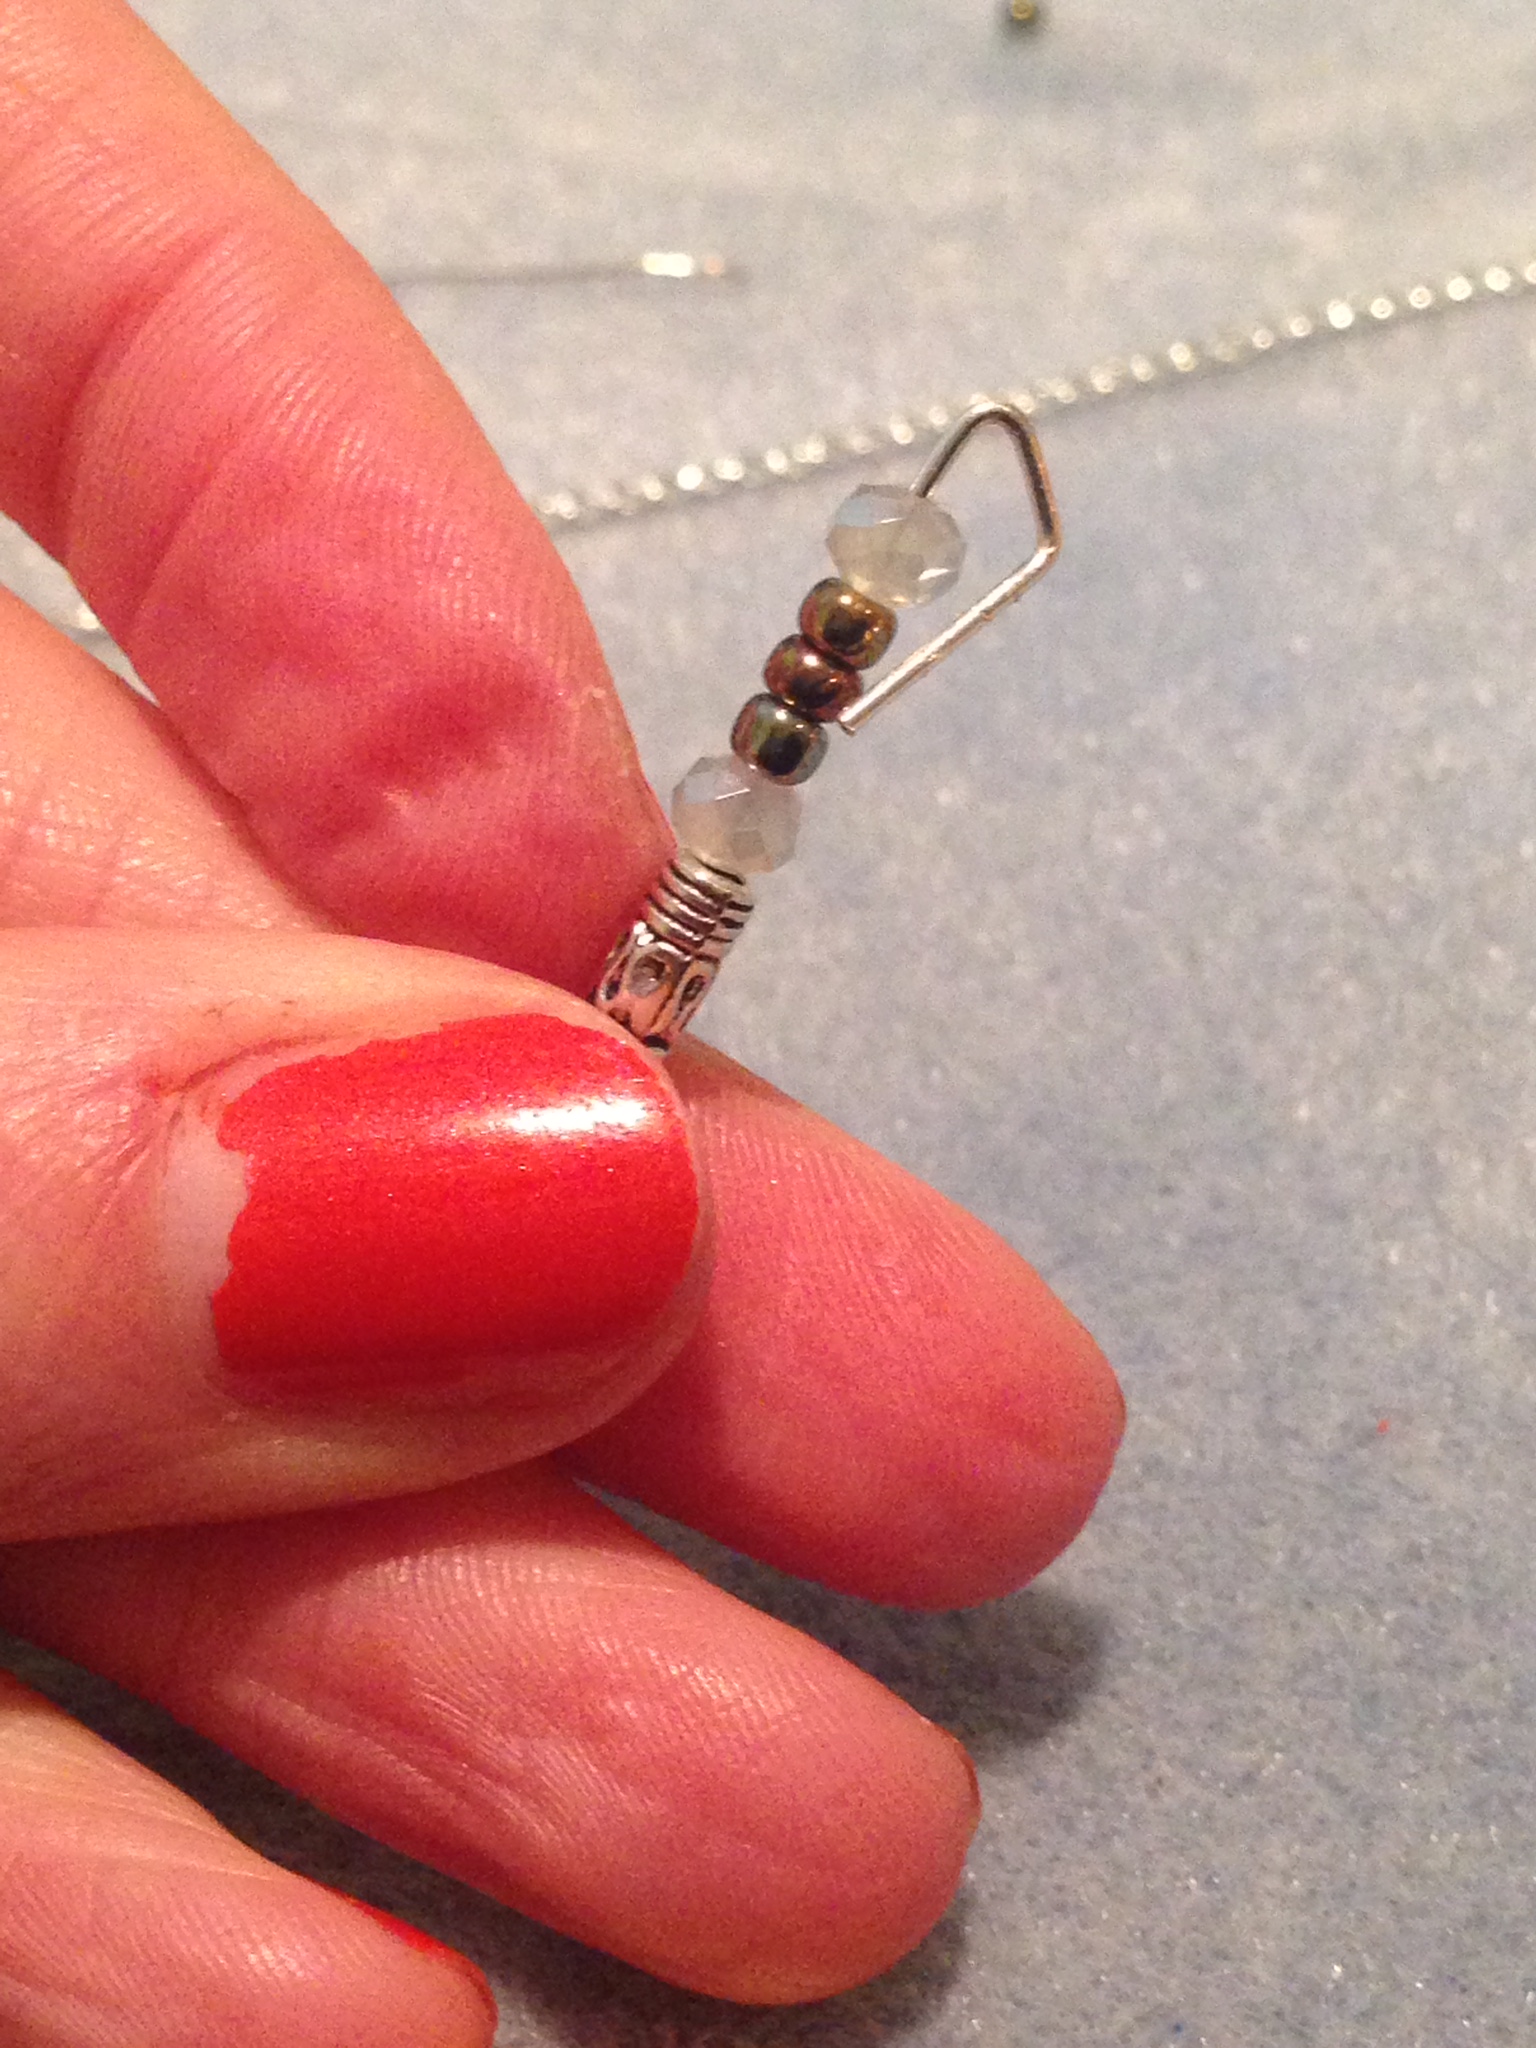
Wrap that sucker around.
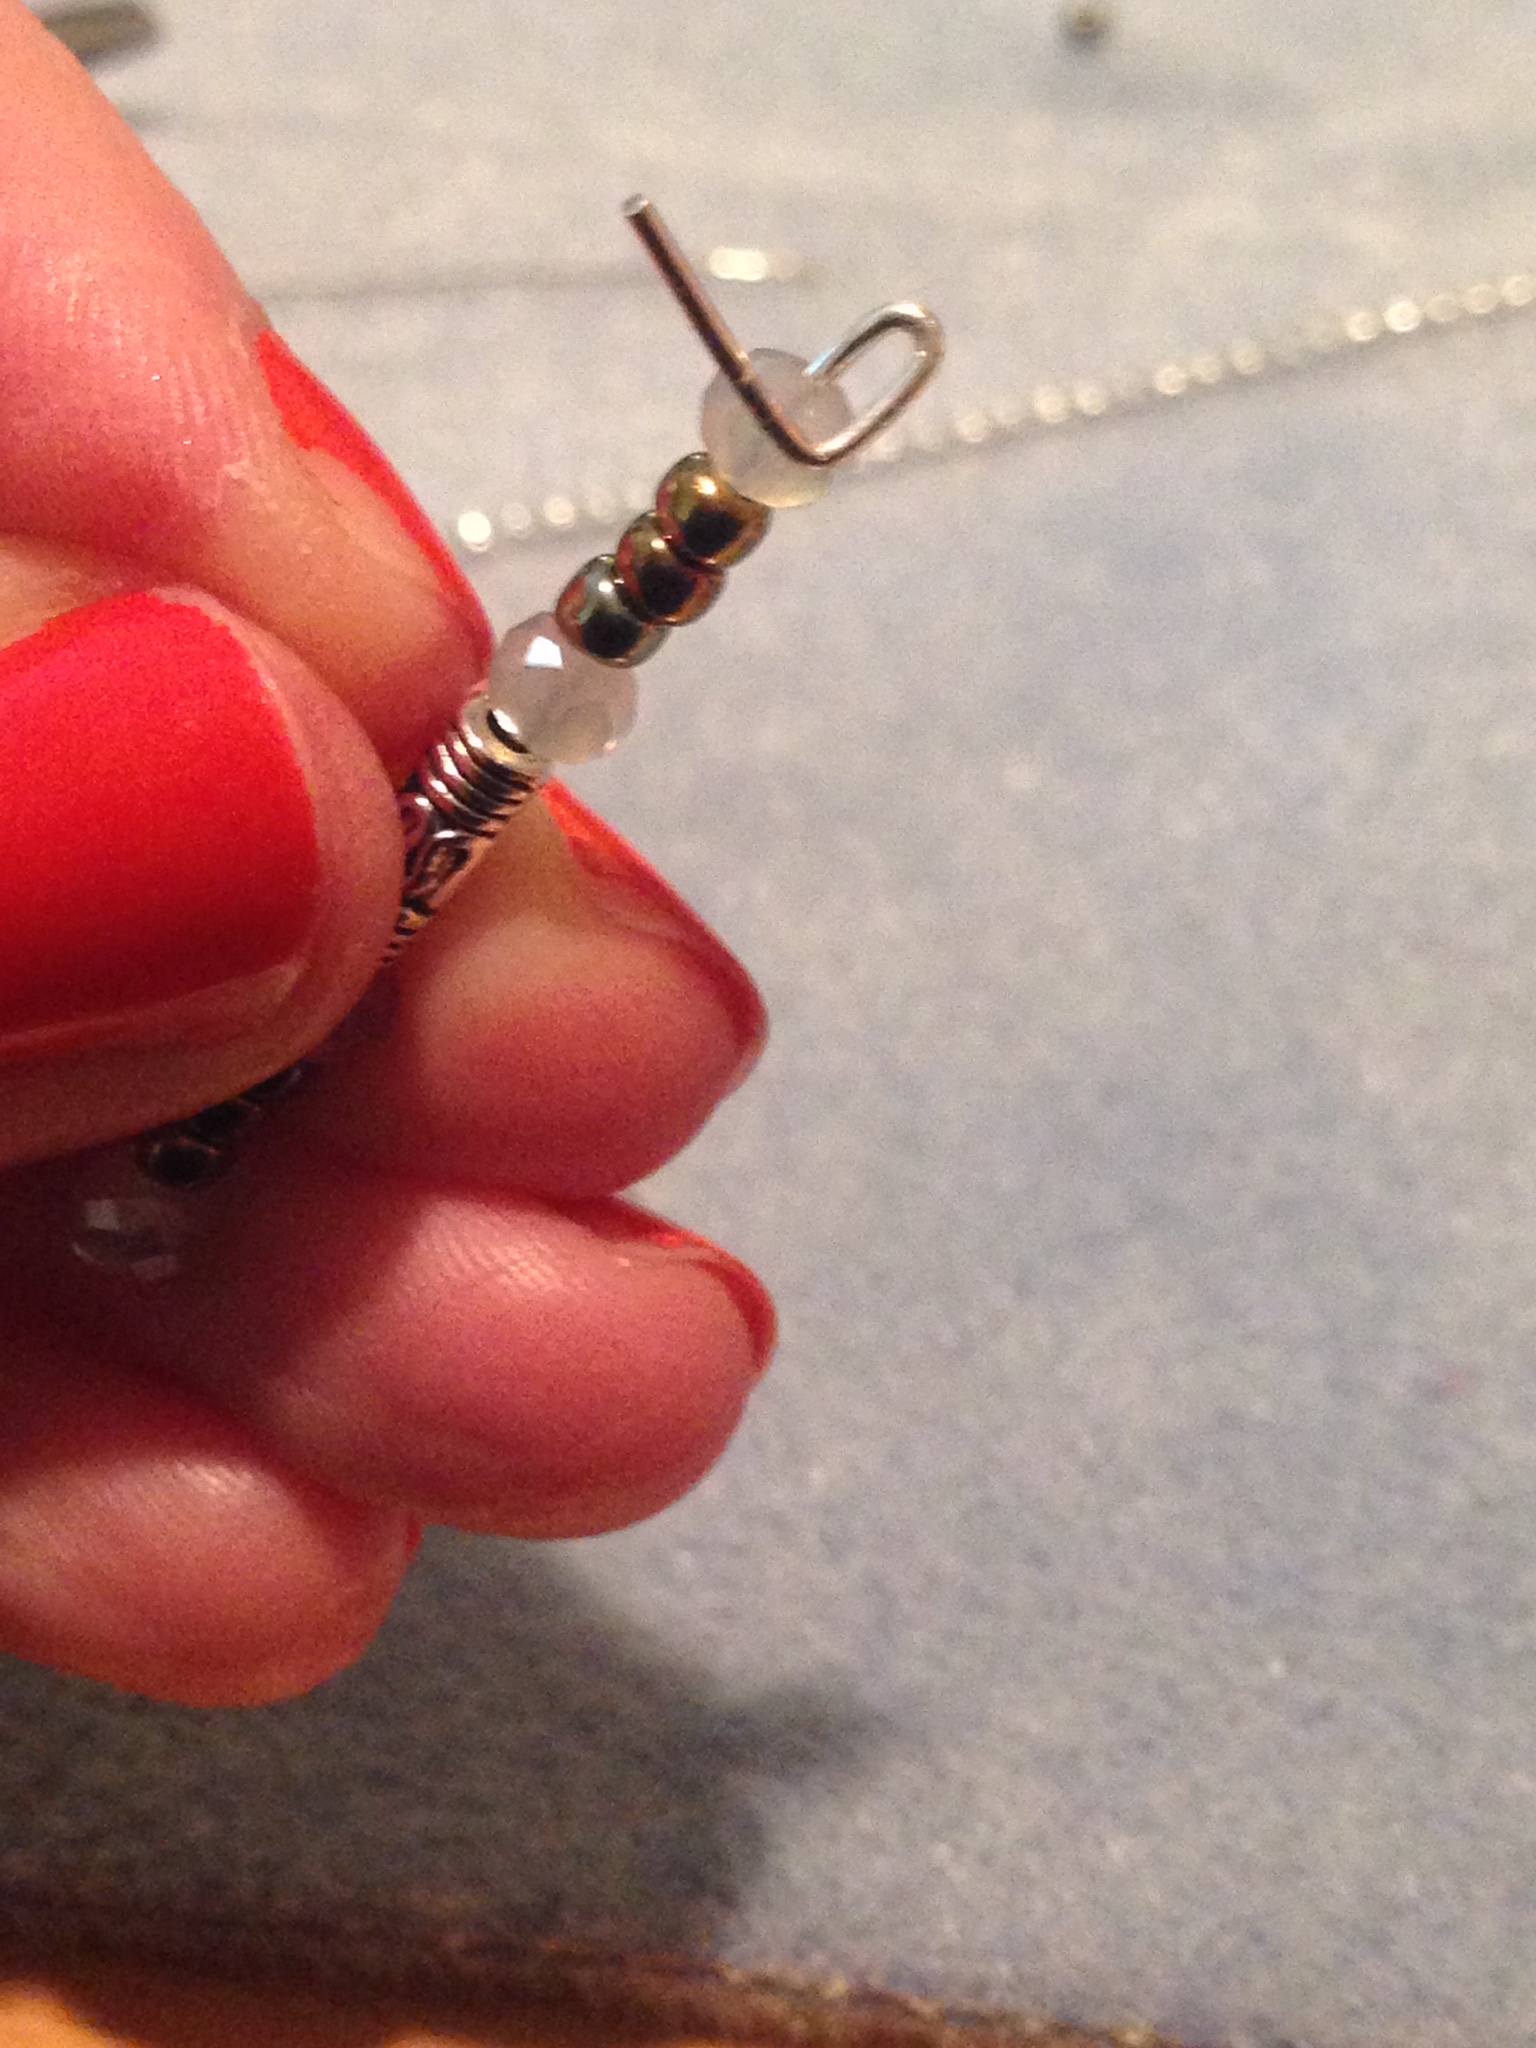

Trim off any extra bits and then use a crushing motion with the pliers to push the sharp edge out of the way. Be careful not to crush the loop. To prevent this, you can thread an extra pin through the loop to keep it open while you work on tucking the sharp edge away.
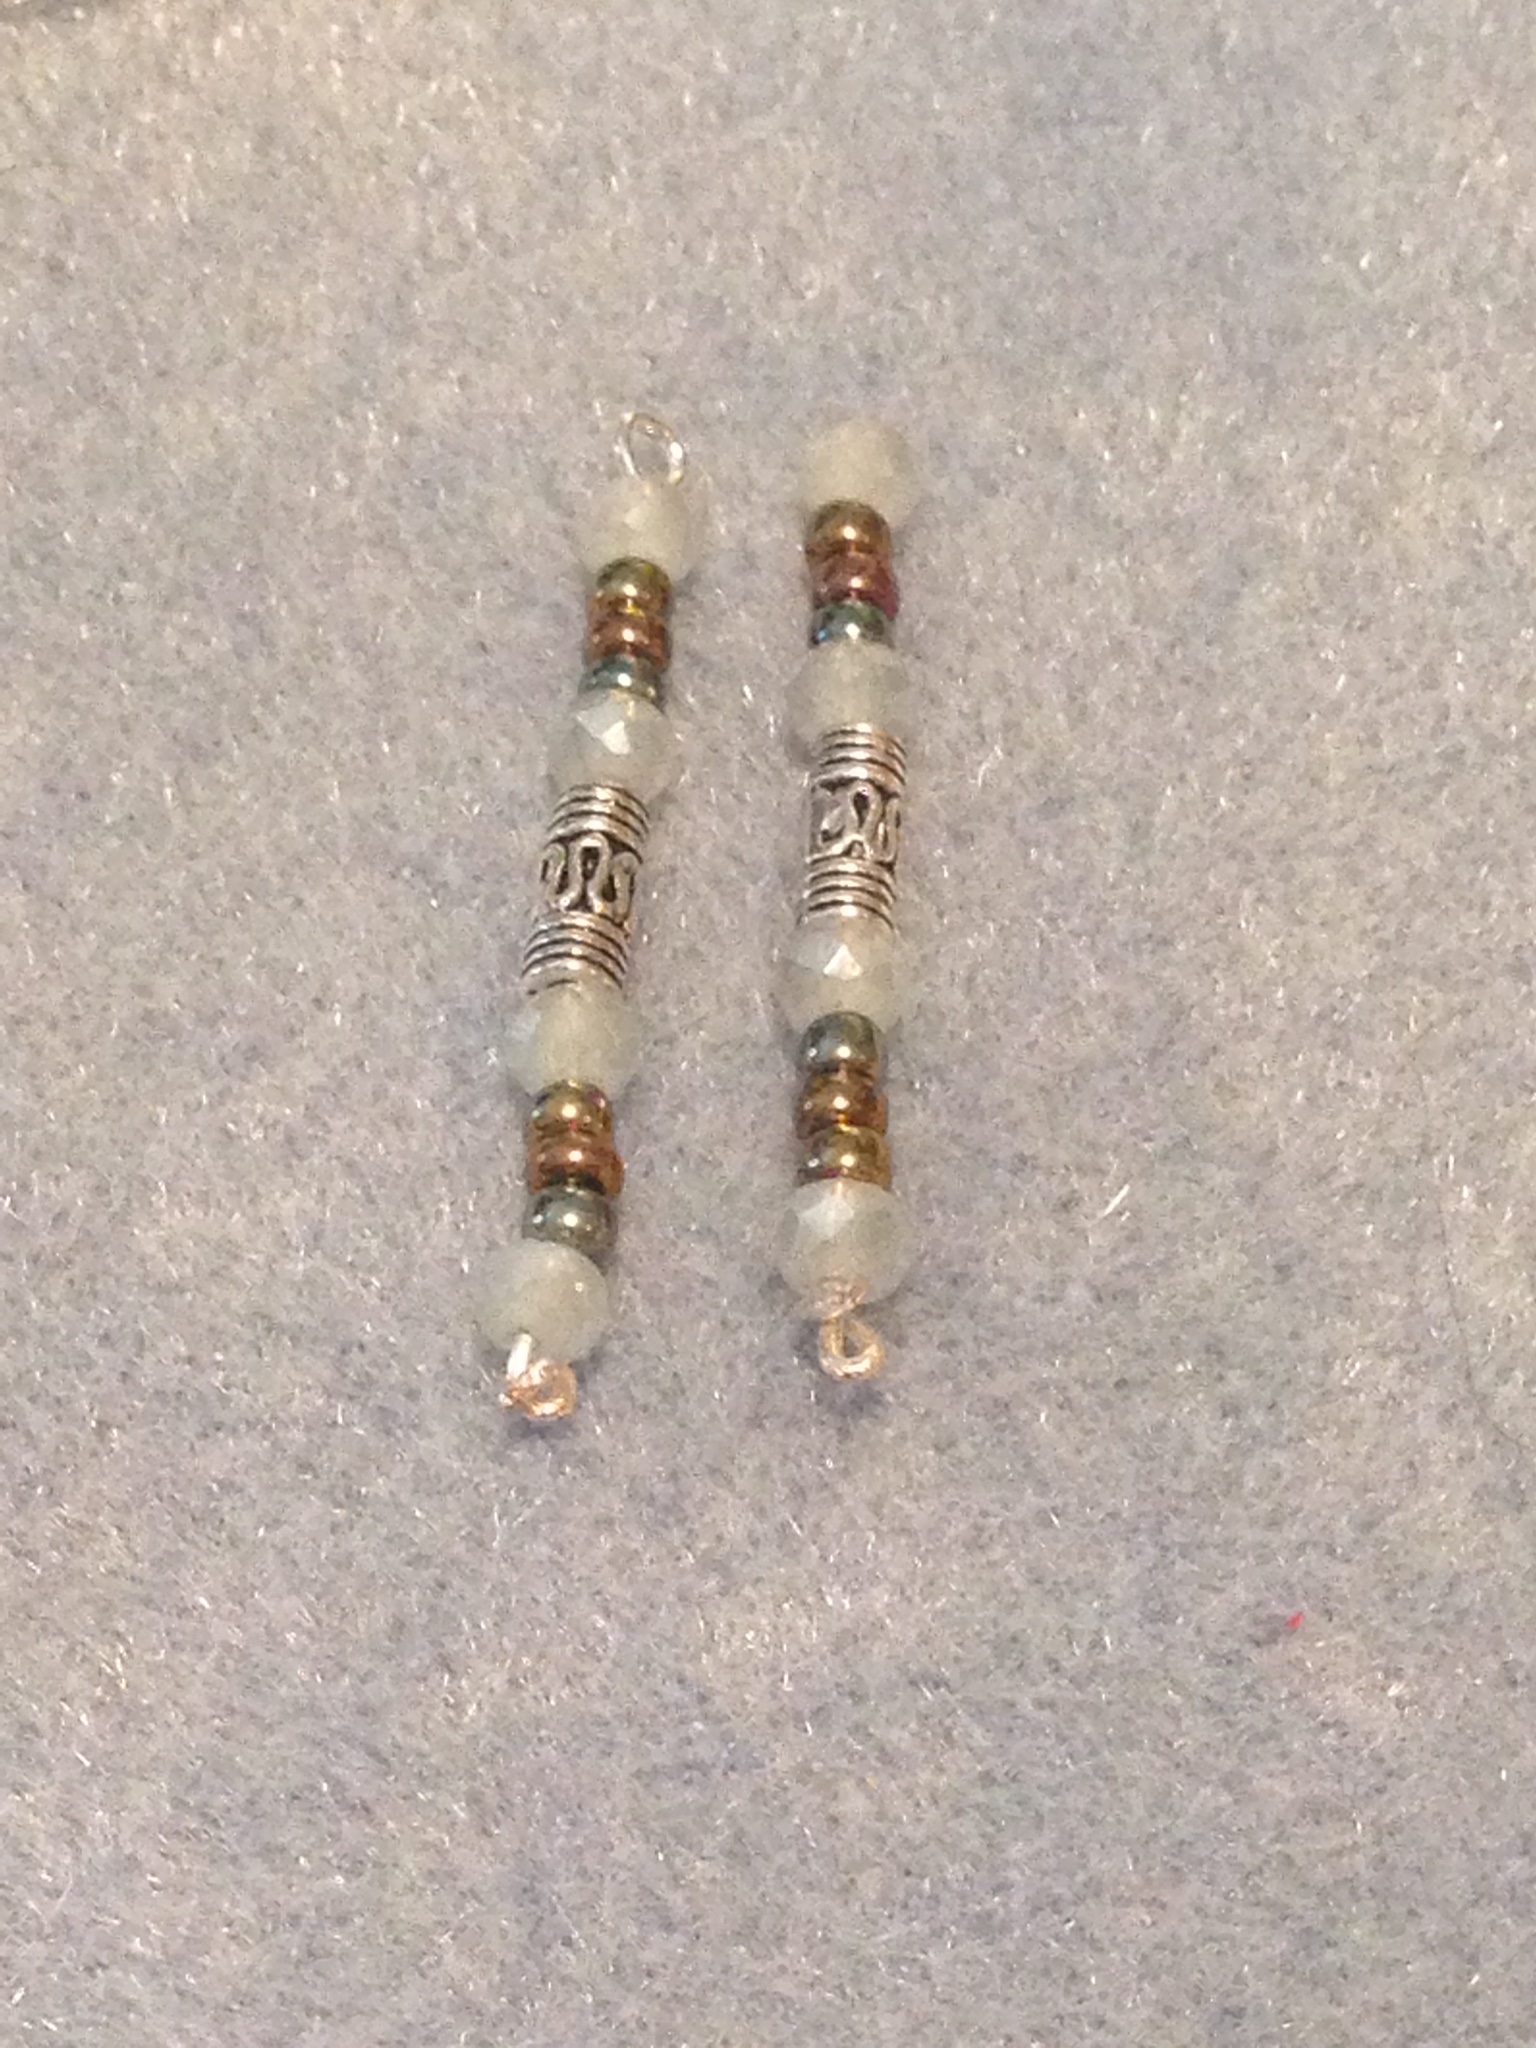
Eye pin & Head pin
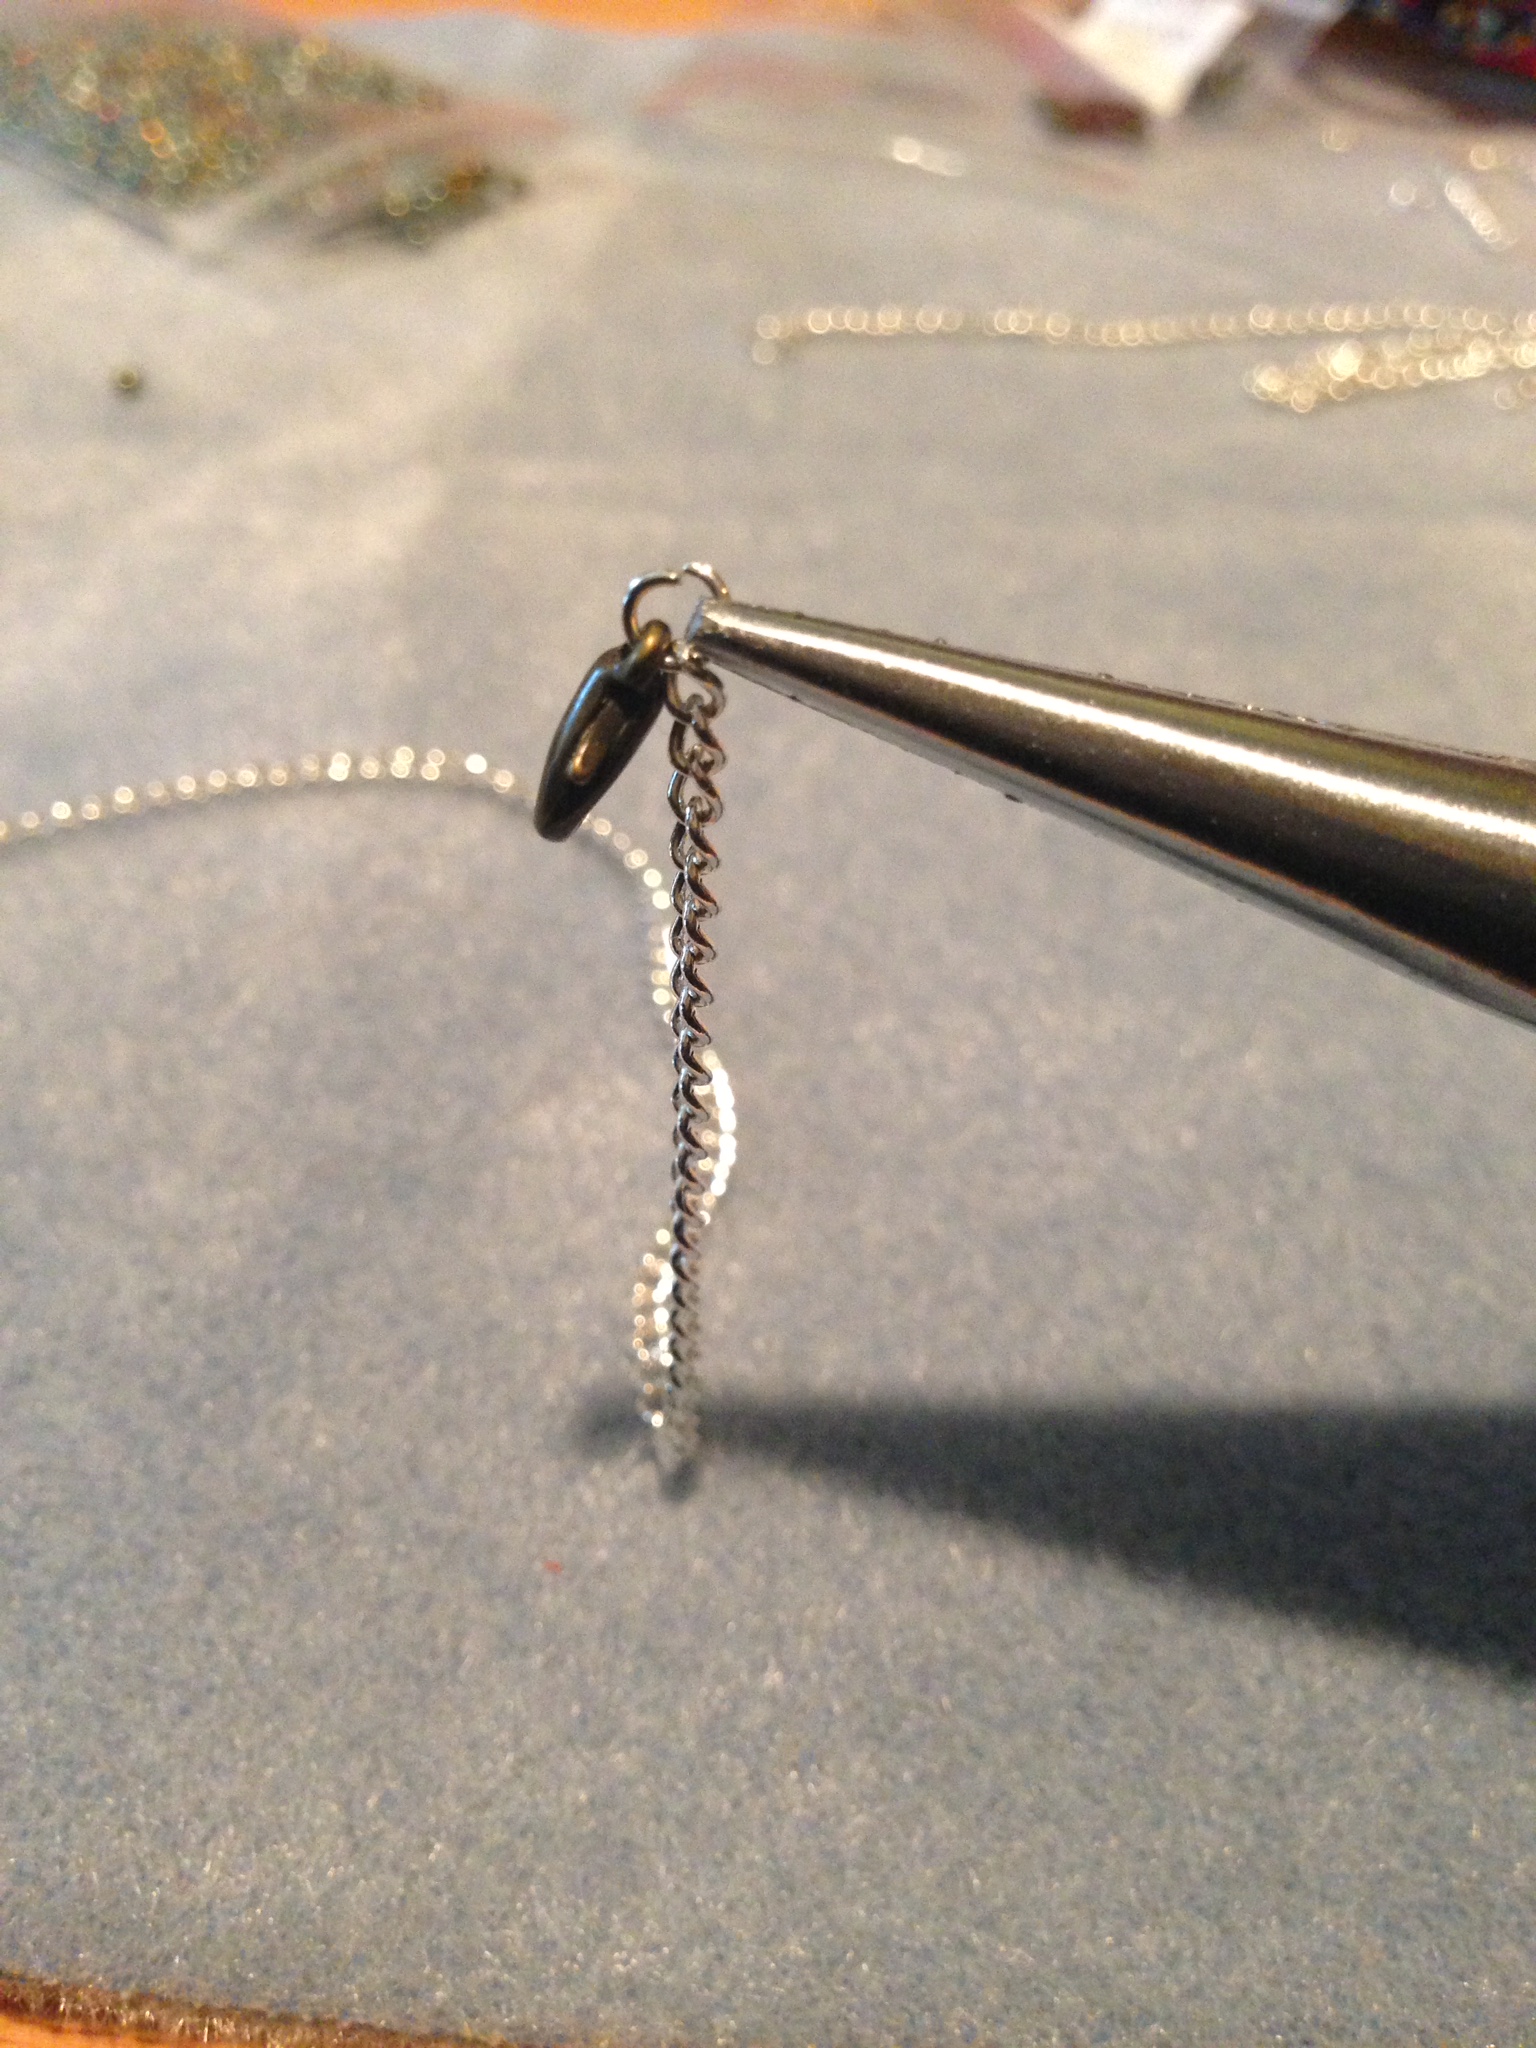
Once you’ve finished, all you have left is to add this to the chain and you’re necklace is done! Do this by opening up a jump ring and add the beads to the non-clasp end of the chain. If you’re adding the beads horizontally, attach it at both ends with a jump ring on each side. If you’re adding them vertically, just do one as I am below.

Slip both bare ends of the chain into the jump ring and close ‘er up!

Done! Go flaunt your craft skills and whip up a couple of these subtle, eye-catching necklaces. This technique would even work well for bracelets and earrings – the sky’s the limit!
Do you have any staple pieces for dressing-up a plain outfit for dressing-down a fancy one?

